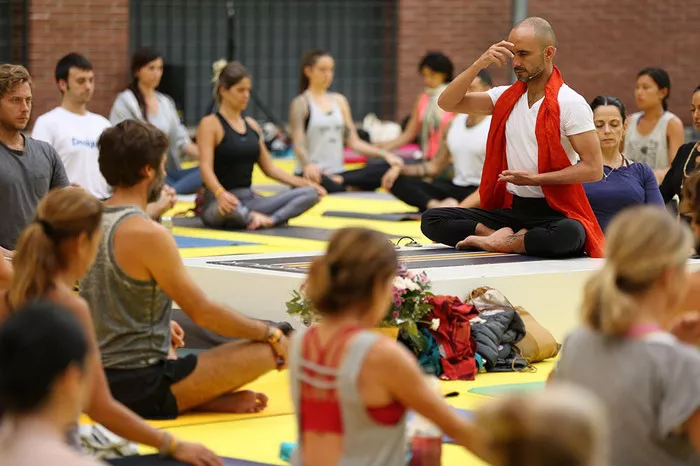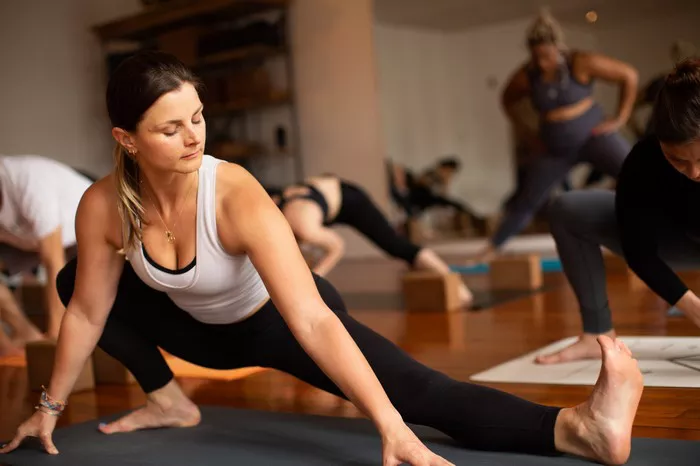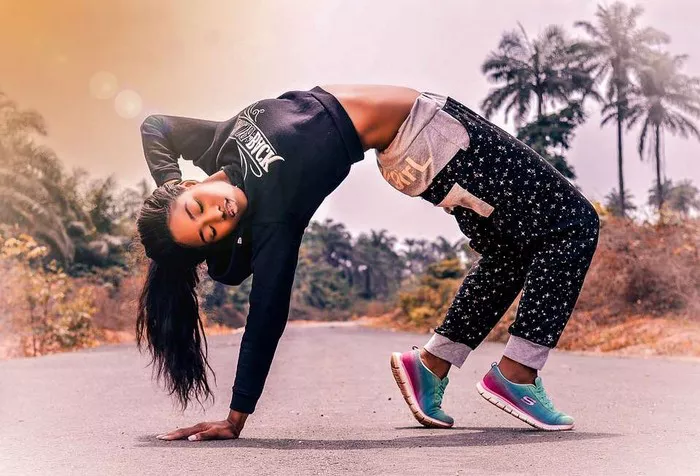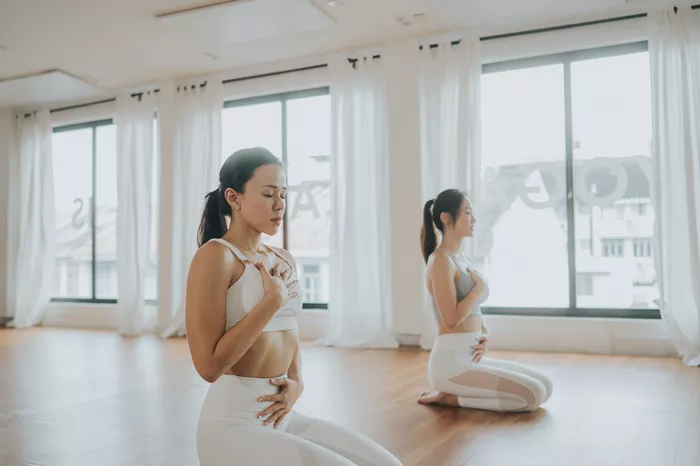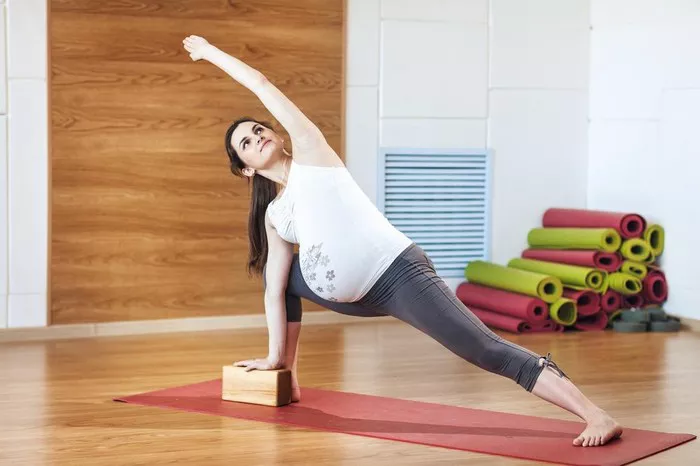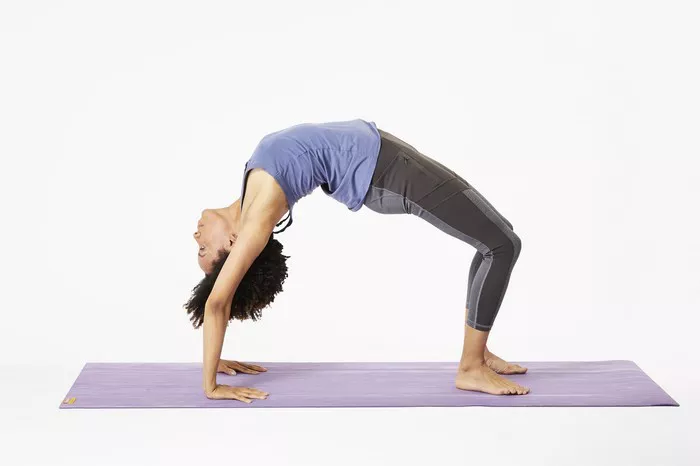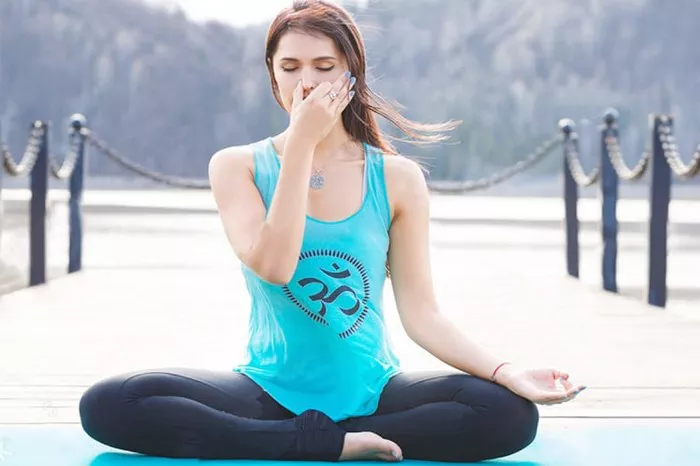
Yoga, with its rich history and wide array of poses, offers practitioners a multitude of ways to achieve mental clarity, physical strength, and emotional balance. Each asana (pose) serves a unique purpose, from increasing flexibility to calming the mind. Among the many poses, there is one that holds a special place in the practice—the Queen Pose. Known as “Rajakapotasana” in Sanskrit, or the King Pigeon Pose, this asana is often regarded as a deeply restorative and powerful pose. Though it is often called the King Pigeon Pose, the Queen Pose or Raja Kapotasana holds significant importance and can offer many of the same benefits, but with a more approachable twist for all practitioners.
In this article, we will explore the Queen Pose in detail—what it is, its variations, benefits, proper technique, and common mistakes to avoid. Let’s dive into understanding why this pose is referred to as a “queen” pose and how it can be a transformative addition to your yoga practice.
Understanding the Queen Pose in Yoga
Origin and Name
The Queen Pose, known in Sanskrit as Raja Kapotasana (राज कापोतासन), is a deep backbend and hip opener. The name “Kapotasana” itself translates to “Pigeon Pose,” while “Raja” refers to “King” or “Royal.” Although traditionally called the King Pigeon Pose, the Queen Pose is often used to signify a variation that is less intense and more accessible to a wider range of practitioners. By incorporating this variation, the pose becomes a metaphor for regal ease and self-mastery without overwhelming the body.
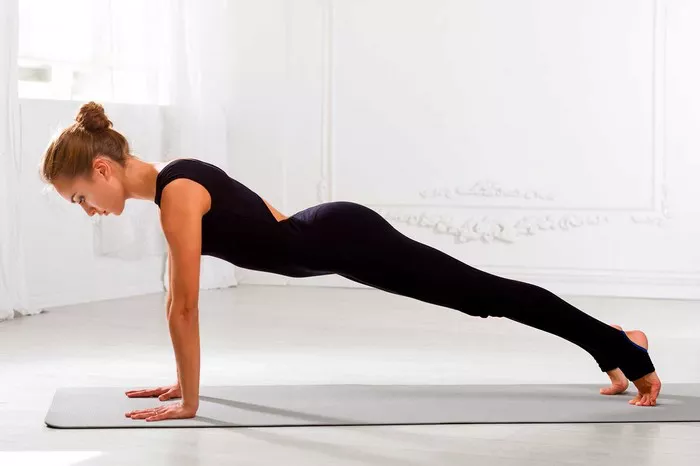
Raja Kapotasana is typically performed as a seated stretch or an advanced backbend in yoga practices such as Ashtanga or Vinyasa. It combines elements of hip opening, spinal extension, and shoulder stretching, making it a challenging yet rewarding asana.
The Pose and its Components
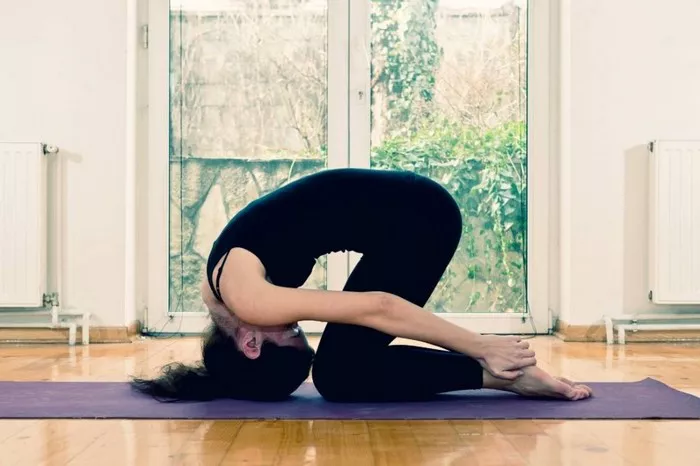
The basic structure of the Queen Pose involves a deep backbend while one leg is stretched forward and the other leg bent behind the body. The focus is to open the chest and hips while ensuring alignment in the spine. Many versions of the Queen Pose exist, with variations depending on the practitioner’s flexibility, strength, and experience level.
The pose can be broken down into the following components:
Hip Opening: The leg bent behind the body stretches the hip flexors, allowing for deeper hip opening.
Spinal Extension: A gentle arch is created in the spine as the torso reaches upward, engaging the back muscles.
Chest and Shoulder Stretch: By extending the arms or clasping the hands behind the back, the chest and shoulders are opened, releasing tension and increasing mobility.
Deep Stretching of the Quadriceps and Glutes: The leg bent behind the body intensifies the stretch in the quadriceps and gluteal muscles.
Balance and Stability: Balancing in the pose helps improve coordination and focus, while stabilizing muscles are engaged.
This combination of hip flexibility, spinal extension, and deep chest opening allows the Queen Pose to offer a comprehensive stretch that targets multiple areas of the body.
Benefits of the Queen Pose
1. Improves Flexibility
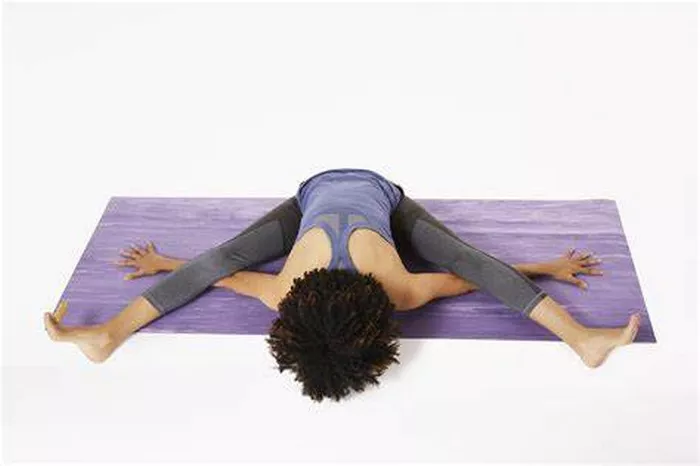
One of the primary benefits of the Queen Pose is its ability to improve flexibility, particularly in the hips, quadriceps, and spine. The deep hip opening stretches the hip flexors and glutes, which can often be tight due to sitting for long periods. The spinal extension encourages mobility in the upper back and neck, which can alleviate tension and improve posture.
2. Strengthens the Back and Core
While the Queen Pose offers a deep stretch, it also engages the muscles of the back and core. The action of lifting the chest and arching the spine strengthens the muscles along the back, including the lower back. These muscles work to support the spine, while the core stabilizes the body in the pose. This balance of stretching and strengthening helps to build a resilient and strong body.
3. Enhances Posture
Many people struggle with poor posture, particularly those who spend hours sitting at a desk. The Queen Pose promotes a natural, upright posture by opening the chest and shoulders, helping to reverse the effects of slumping and hunching. Regular practice can lead to improved alignment in everyday activities and an overall more confident bearing.
4. Releases Emotional Tension
As with many deep stretches and backbends in yoga, the Queen Pose can have a profound emotional impact. Opening the chest and shoulders is often symbolic of emotional vulnerability and receptivity. This pose can help release pent-up emotional tension, promote feelings of freedom, and encourage a sense of emotional balance.
5. Stimulates the Heart Chakra
In yoga, the heart chakra (Anahata) is associated with love, compassion, and emotional well-being. The Queen Pose involves opening the chest and heart center, which stimulates the flow of energy through the heart chakra. This can promote feelings of emotional openness, healing, and compassion, both toward oneself and others.
6. Relieves Back Pain
By strengthening the muscles along the spine and improving flexibility in the lower back and hips, the Queen Pose can be an effective remedy for back pain. The deep stretch and spinal extension relieve stiffness in the lumbar region, and the increased mobility can reduce discomfort associated with sedentary lifestyles or muscle imbalances.
7. Promotes Relaxation and Focus
Although the Queen Pose requires concentration and strength, it can also be deeply relaxing. By encouraging breath control and mindfulness, the pose helps center the mind and body. The feeling of openness and release in the chest can promote a sense of calm and tranquility.
How to Perform the Queen Pose (Raja Kapotasana)
To perform the Queen Pose correctly and safely, it is important to understand the proper technique and alignment. Here is a step-by-step guide to performing the pose:
Step 1: Start in a Comfortable Seated Position
- Begin in a comfortable seated position with your legs extended out in front of you.
- Take a few moments to ground yourself by breathing deeply and centering your mind.
Step 2: Enter the Pigeon Pose
- Begin by transitioning into Pigeon Pose (Kapotasana) by bringing your right knee forward toward your right wrist. Extend the left leg straight back behind you.
- Adjust the hips so that they are squared, and make sure the back leg is extended fully on the floor.
- Inhale and lengthen your spine, and exhale to lower your torso down toward the floor, folding over your bent leg.
Step 3: Move into the Backbend
- From this position, begin to engage your back muscles as you lift the chest upward, creating a gentle backbend.
- Reach your left arm behind you to grab the left foot (or use a strap if you cannot reach). Try to bring the foot closer to your head while keeping the chest open.
- Ensure the spine remains long and your back muscles are engaged to support the extension.
Step 4: Hold and Breathe
- Stay in the pose for 5-10 breaths, allowing yourself to breathe deeply into the chest and expand the heart space. Keep your gaze forward or up toward the ceiling to deepen the backbend.
- Focus on keeping both hips level and grounded to avoid excessive strain on the lower back.
Step 5: Exit the Pose Safely
- To come out of the pose, slowly release the back foot and return to a neutral position, lowering your torso to the ground and carefully bringing the legs together.
- Repeat the pose on the other side by bringing the left knee forward and following the same steps.
Common Mistakes to Avoid
To ensure that you are practicing the Queen Pose safely and effectively, here are some common mistakes to be mindful of:
1. Forcing the Backbend
It’s important to never force your back into a deep arch. A gentle backbend is sufficient for most practitioners. Focus on gradually increasing flexibility and strength rather than pushing too far too quickly.
2. Misalignment of the Hips
The hips should be squared in Pigeon Pose, with the back leg extended straight behind you. Avoid allowing the hips to collapse to one side, as this can strain the lower back and disrupt the alignment of the pelvis.
3. Straining the Neck
Avoid looking too far back or straining the neck while reaching for the foot. Keep the neck in a neutral position by looking forward or gently up, ensuring that the head is in line with the spine.
4. Overarching the Lower Back
While the backbend in the Queen Pose is important, it’s crucial to avoid arching the lower back excessively. Engage your core and back muscles to support the spine and prevent unnecessary strain.
Conclusion
The Queen Pose in yoga—Raja Kapotasana—is a powerful and deeply beneficial asana that offers a range of physical and emotional benefits. By incorporating this pose into your practice, you can enhance flexibility, strengthen your back and core, release emotional tension, and promote a greater sense of inner peace. Remember to practice with mindfulness, and be patient with your body as you deepen your stretch and backbend. With consistent practice, the Queen Pose can help transform both your physical health and emotional well-being.
Related Topics: