Lumbar lordosis, an excessive inward curve of the lower spine, can be a source of discomfort and pain for many individuals. Whether caused by poor posture, muscle imbalances, or other factors, managing lumbar lordosis requires a comprehensive approach that includes strengthening and stretching exercises. Among the various methods available, yoga stands out as a holistic practice that addresses both the physical and mental aspects of health.
Incorporating yoga into your routine can help alleviate the symptoms of lumbar lordosis by promoting flexibility, strengthening supportive muscles, and encouraging proper alignment. In this article, we will explore eight yoga poses specifically targeted to provide relief for lumbar lordosis.
1. Cat-Cow Stretch (Marjaryasana-Bitilasana)
The cat-cow stretch is an excellent way to warm up the spine and increase flexibility in the lumbar region. Start on your hands and knees with your wrists aligned under your shoulders and your knees under your hips. As you inhale, arch your back, lifting your chest and tailbone towards the ceiling (cow pose). Exhale as you round your spine, tucking your chin to your chest and drawing your navel towards your spine (cat pose). Repeat this movement for several breaths, flowing smoothly between the two poses.
2. Child’s Pose (Balasana)
Child’s pose is a gentle stretch that helps lengthen the spine and release tension in the lower back. Begin by kneeling on the floor with your big toes touching and your knees spread apart. Sit back on your heels and extend your arms forward, lowering your chest towards the floor. Rest your forehead on the mat and relax your entire body, breathing deeply into your lower back. Hold this pose for several breaths, allowing gravity to gently stretch your spine.
3. Downward-Facing Dog (Adho Mukha Svanasana)
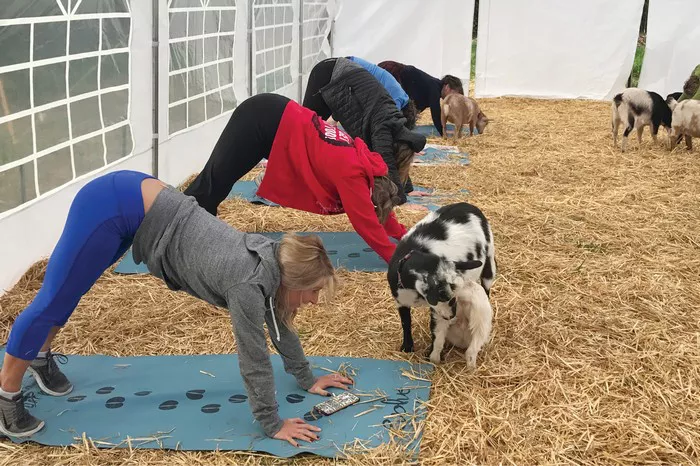
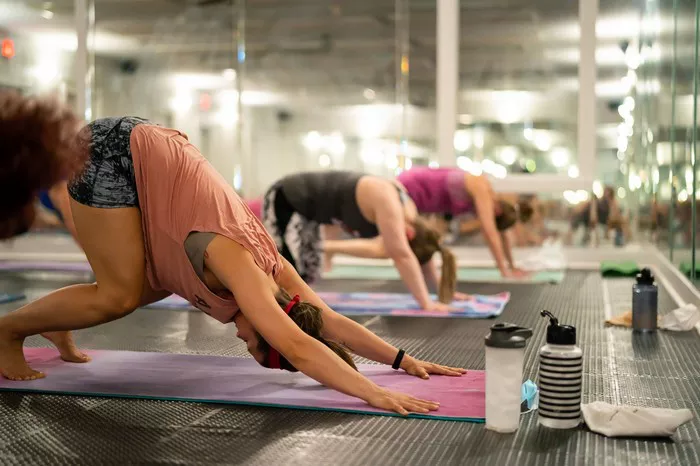
Downward-facing dog is a classic yoga pose that targets the entire body, including the spine and hamstrings. Start on your hands and knees, then lift your hips towards the ceiling, straightening your arms and legs to form an inverted V shape. Press your hands into the mat and draw your shoulder blades down your back, lengthening your spine and engaging your core. Hold this pose for a few breaths, focusing on elongating your spine and grounding through your hands and feet.
4. Cobra Pose (Bhujangasana)
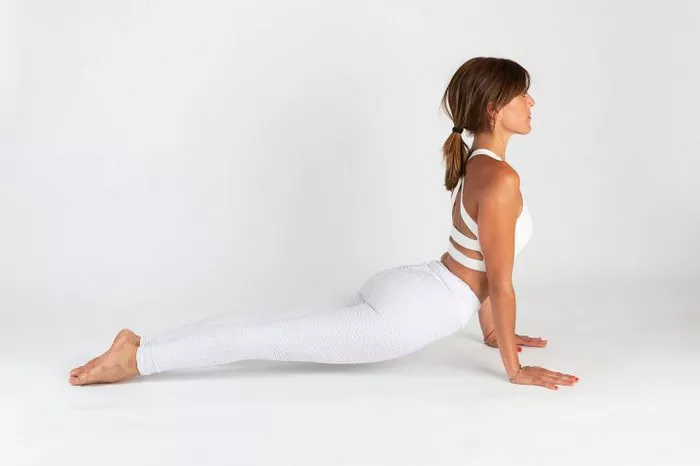
Cobra pose strengthens the muscles of the back and abdomen while also improving spinal flexibility. Lie on your stomach with your hands planted under your shoulders and your elbows close to your body. As you inhale, press into your hands and lift your chest off the mat, keeping your elbows bent. Draw your shoulders away from your ears and lengthen through the crown of your head, gently arching your back. Hold the pose for a few breaths, then release back to the floor with control.
5. Bridge Pose (Setu Bandhasana)
Bridge pose is an effective way to strengthen the muscles of the lower back, glutes, and thighs while also opening the chest and hips. Lie on your back with your knees bent and your feet hip-width apart, heels close to your sitting bones. Press into your feet as you lift your hips towards the ceiling, engaging your core and squeezing your glutes. Interlace your hands behind your back and roll your shoulders underneath you, lifting your chest towards your chin. Hold the pose for several breaths, then release back to the floor slowly.
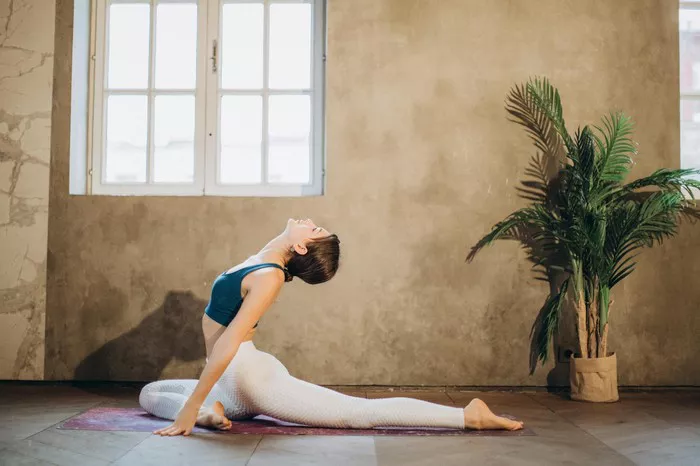
6. Sphinx Pose (Salamba Bhujangasana)
Sphinx pose gently stretches the spine and chest while also strengthening the muscles of the back. Lie on your stomach with your legs extended behind you and your elbows planted under your shoulders. Press into your forearms as you lift your chest off the mat, keeping your shoulders relaxed and your neck long. Draw your shoulder blades down your back and lengthen through the crown of your head, feeling a gentle stretch in your lower back. Hold the pose for a few breaths, then release back to the floor.
7. Seated Forward Bend (Paschimottanasana)
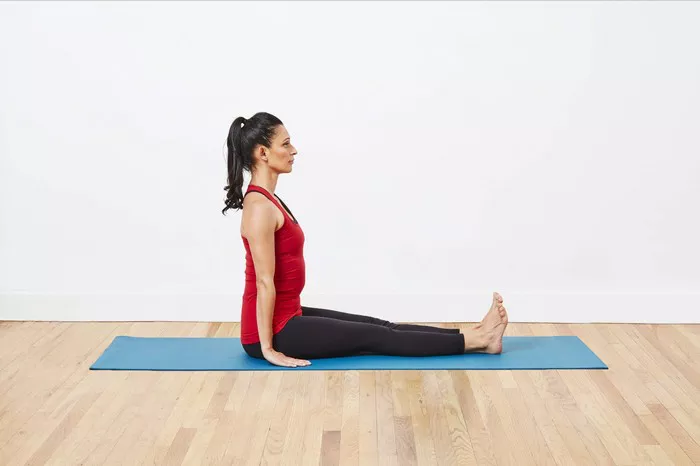
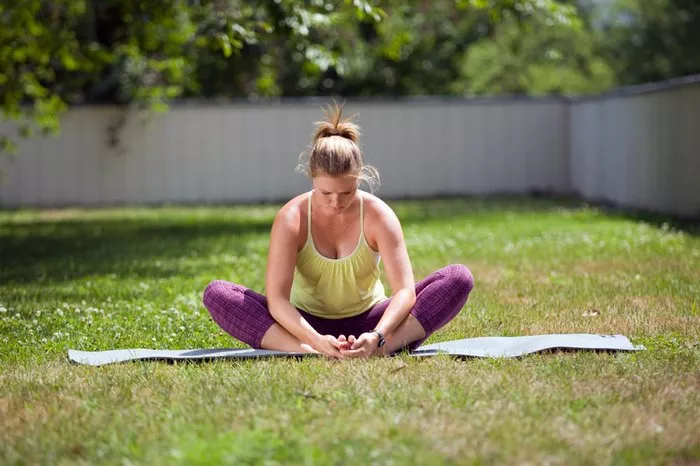
Seated forward bend is a calming pose that stretches the entire back body, including the spine, hamstrings, and calves. Sit on the floor with your legs extended in front of you and your spine tall. Inhale to lengthen your spine, then exhale as you hinge at the hips and fold forward from the waist. Reach for your feet or shins, keeping your back flat and your neck relaxed. Hold the pose for several breaths, breathing deeply into the stretch, then slowly release back to an upright position.
8. Supine Spinal Twist (Supta Matsyendrasana)
Supine spinal twist is a soothing pose that releases tension in the spine and promotes relaxation. Lie on your back with your arms extended out to the sides in a T position. Bend your knees and draw them towards your chest, then drop them to one side, allowing your spine to twist. Keep both shoulders grounded as you gaze in the opposite direction, feeling a gentle stretch through the spine and chest. Hold the pose for several breaths, then repeat on the other side before returning to center.
Conclusion
Incorporating these yoga poses into your regular routine can help alleviate discomfort associated with lumbar lordosis while also improving overall spinal health and flexibility. However, it’s essential to listen to your body and modify the poses as needed to suit your individual needs and limitations. With consistent practice and mindful awareness, you can find relief from lumbar lordosis and cultivate a healthier, more resilient spine.
FAQs:
What makes lordosis worse?
Lordosis can worsen due to various factors such as a sedentary lifestyle, poor posture, obesity, and muscle weakness or imbalance. Certain activities that strain the lower back, like heavy lifting or repetitive bending, can also exacerbate it. Lack of core strength and flexibility contributes to worsening this condition.
How should you sit if you have lordosis?
If you have lordosis, sit in a way that supports the natural curvature of your spine and relieves pressure on your lower back. Choose a chair with good lumbar support or use a cushion. Keep your feet flat on the floor, knees bent at 90 degrees, and maintain a neutral pelvic position. Avoid slouching or leaning back excessively. Engage your core muscles and take regular breaks to stand up, stretch, or walk around.
How long does it take to correct lordosis?
Correcting lordosis varies depending on factors like severity and adherence to treatment. Improvement may be noticeable within weeks to months with consistent therapeutic exercises, stretching routines, and postural modifications. Severe cases may require ongoing management and lifestyle adjustments for long-term progress.
Can sitting too much cause lordosis?
Prolonged sitting, especially with poor posture and lack of movement, can contribute to lordosis. Sitting for long periods without adequate support or breaks strains the lower back, leading to muscle tightness, weakness, and postural misalignment. Slouched or hunched sitting positions can exacerbate spinal curvature over time. Regular breaks, ergonomic adjustments, and core strengthening can help prevent or alleviate lordosis associated with excessive sitting.

