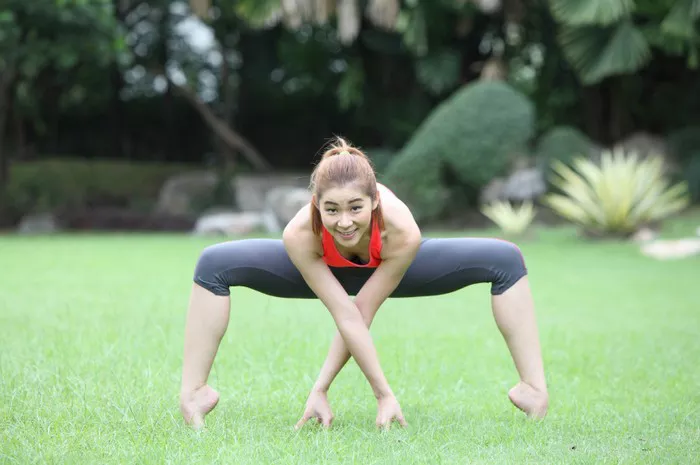
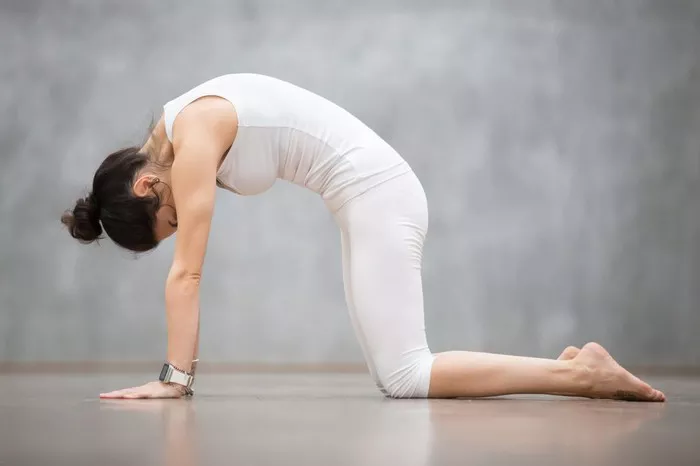
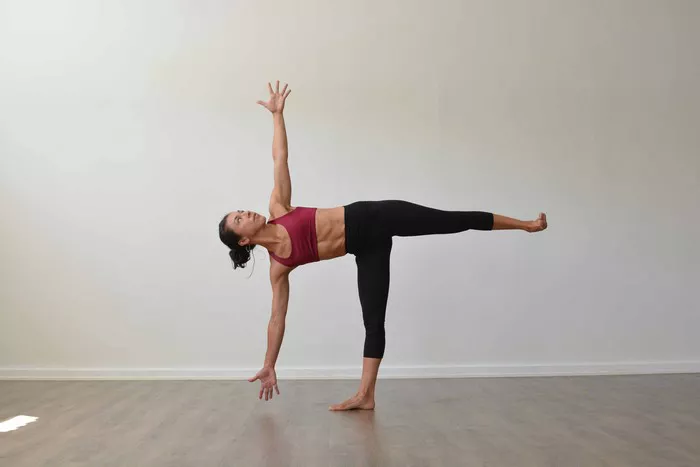
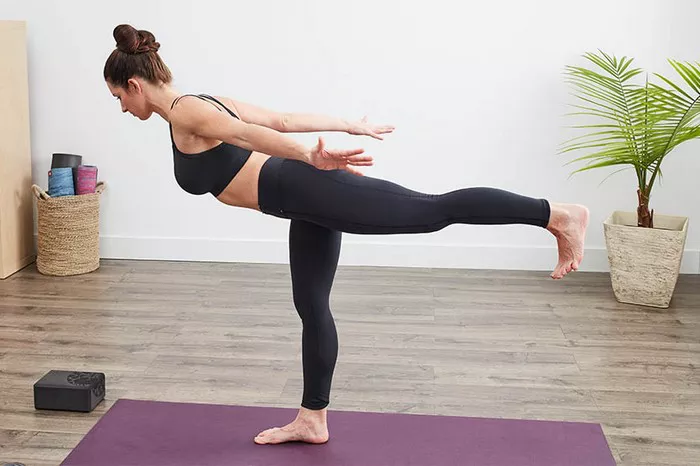
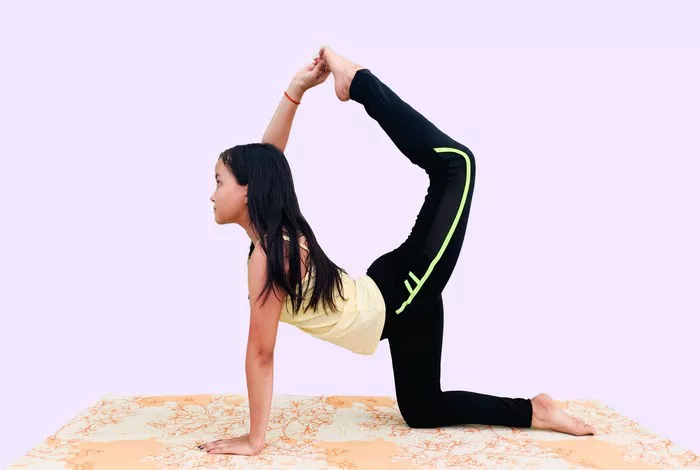
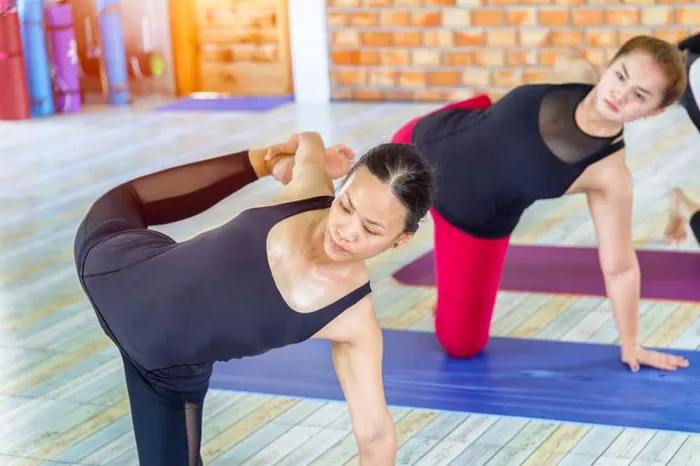
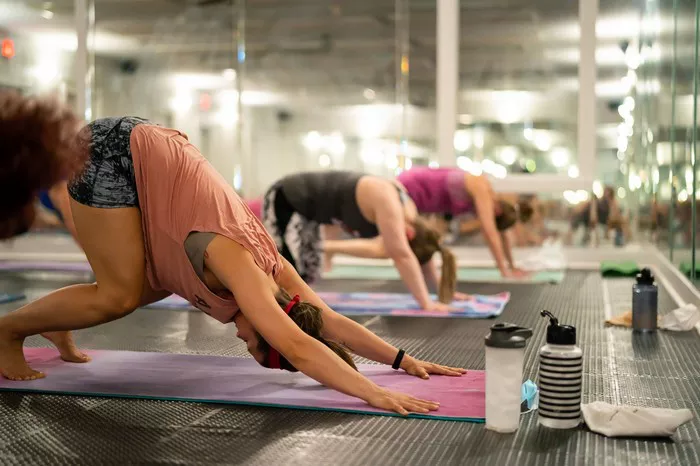
Spider pose, also known as Utthita Parsvakonasana in Sanskrit, is a popular yoga posture that is often included in standing sequences. This pose is categorized as a standing, balancing, and hip opener posture, and it requires strength, flexibility, and balance to perform correctly. The spider pose is an intermediate-level posture that challenges the body and mind, making it a great addition to any yoga practice.
Benefits:
The spider pose offers a wide range of benefits for the body and mind. Some of the most notable benefits include:
1. Improved balance and stability: Spider pose requires you to balance on one leg while keeping your torso and arms extended, which can help improve your overall balance and stability.
2. Increased flexibility in the spine, hips, and hamstrings: The spider pose involves a deep stretch in the hips, hamstrings, and spine, which can help increase flexibility and range of motion in these areas.
3. Strengthens the legs, core, and arms: Spider pose requires you to engage your legs, core, and arms to maintain the posture, which can help strengthen these areas over time.
4. Enhanced focus and concentration: The spider pose requires focus and concentration to maintain balance and stability, which can help improve your overall mental clarity and focus.
Step-by-Step Instructions:
To perform spider pose, follow these step-by-step instructions:
1. Start in Downward-Facing Dog or Warrior II pose: Begin in either Downward-Facing Dog or Warrior II pose, with your hands and feet firmly planted on the ground.
2. Step one foot forward between your hands: Bring one foot forward between your hands, and place it firmly on the ground.
3. Bend your front knee and extend your back leg straight: Bend your front knee and extend your back leg straight, pressing your heel towards the ground.
4. Rotate your torso open towards the front leg: Rotate your torso open towards the front leg, keeping your chest lifted and your shoulders relaxed.
5. Bring your hands to the floor or blocks on either side of your front foot: Bring your hands to the floor or blocks on either side of your front foot, and press down firmly to maintain balance.
6. Option to deepen the pose by reaching one arm overhead and gazing upwards: If you feel stable in the posture, you can deepen the stretch by reaching one arm overhead and gazing upwards towards your fingertips.
Modifications and Variations:
There are several modifications and variations you can make to the spider pose to make it more accessible or challenging, depending on your needs. Some of these modifications and variations include:
1. Use blocks under your hands if you cannot reach the floor: If you cannot reach the floor with your hands, you can use blocks to bring the ground closer to you and make the posture more accessible.
2. Keep your back knee on the floor for a gentler variation: To make the posture gentler on your body, you can keep your back knee on the floor instead of extending it straight.
3. Practice against a wall for additional support: If you need additional support, you can practice the spider pose against a wall, using it to help you maintain balance and stability.
Safety and Precautions:
As with any yoga posture, it is important to practice spider pose safely and mindfully. Some safety and precautionary tips to keep in mind include:
1. Avoid this pose if you have knee, hip, or shoulder injuries: If you have any injuries or conditions that affect your knees, hips, or shoulders, it is best to avoid this posture or modify it as necessary.
2. Listen to your body and don’t force the stretch: It is important to listen to your body and only go as far into the posture as feels comfortable and safe for you.
3. Engage your core to protect your lower back: To protect your lower back, engage your core muscles throughout the posture, and avoid arching your back or sinking into your hips.
Tips:
To get the most out of your spider pose practice, keep these tips in mind:
1. Focus on keeping your hips square to the front: To maintain balance and stability in the posture, focus on keeping your hips square to the front, and avoid twisting or rotating them.
2. Engage your back leg and press through the heel: To strengthen your legs and maintain balance, engage your back leg and press through the heel towards the ground.
3. Breathe deeply and evenly throughout the pose: To help calm your mind and stay focused, breathe deeply and evenly throughout the posture, taking slow, steady breaths in and out through your nose.
Conclusion
Spider pose is a challenging and rewarding yoga posture that offers a wide range of benefits for the body and mind. By incorporating this posture into your yoga practice, you can improve your balance, flexibility, strength, and focus, while also deepening your connection to your body and breath. Remember to practice safely and mindfully, and to modify the posture as necessary to suit your needs and abilities. With regular practice, you can enjoy all the benefits that spider pose has to offer, and take your yoga practice to new heights.
FAQs:
What is the goddess pose in yoga?
The goddess pose, also known as Utkata Konasana in Sanskrit, is a standing yoga posture that is often included in hip-opening sequences. In this pose, the feet are positioned wider than hip-width apart, and the knees are bent, creating a deep stretch in the hips and thighs. The arms are typically extended out to the sides, with the palms facing down. The goddess pose is a powerful posture that requires strength, stability, and flexibility to perform correctly.
What is the spiritual meaning of the goddess pose?
In yoga, the goddess pose is often associated with the divine feminine energy, which represents creativity, intuition, and nurturing. This posture is believed to help awaken and balance the feminine energy within us, encouraging us to connect with our inner strength and power. The goddess pose is also associated with the Hindu goddess Durga, who represents courage, strength, and protection. Practicing this posture can help us tap into these qualities within ourselves, and cultivate a sense of inner resilience and confidence.
What is Tiger yoga?
Tiger yoga, also known as Vyaghrasana in Sanskrit, is a yoga posture that is often included in animal-inspired sequences. In this posture, the hands and knees are positioned on the ground, with the wrists under the shoulders and the knees under the hips. The right leg is then lifted and extended straight back, while the left arm is lifted and extended straight forward. This posture is then repeated on the other side. Tiger yoga is a dynamic posture that requires balance, strength, and coordination to perform correctly.
What is the easiest yoga pose to learn?
The easiest yoga pose to learn will vary depending on the individual’s needs and abilities. However, some of the most accessible yoga poses for beginners include mountain pose (Tadasana), downward-facing dog (Adho Mukha Svanasana), and child’s pose (Balasana). Mountain pose is a simple standing posture that helps improve posture and alignment, while downward-facing dog is a gentle inversion that helps stretch the entire body. Child’s pose is a relaxing posture that can be used to rest and restore the body between more challenging postures. These poses are all accessible to beginners and can be modified as necessary to suit the individual’s needs and abilities.

