Restorative yoga is a gentle practice that focuses on relaxation and the healing of both the body and the mind. It’s ideal for those who are seeking relief from stress, anxiety, or physical tension. The goal of a restorative yoga session is to allow the body to rest deeply and fully while still providing the benefits of a yoga practice.
Creating a one-hour restorative yoga sequence requires attention to pacing, breathwork, and the use of props to ensure that each posture is comfortable and supportive. In this article, we’ll guide you through an hour-long sequence that you can practice yourself or teach to others. Each part of the sequence will be designed to gradually release tension, calm the nervous system, and create space for mindfulness and introspection.
The structure of the sequence will include gentle opening poses, supported postures, deep stretches, and final relaxation. By the end of the session, you’ll feel a profound sense of relaxation and renewal.
How to Prepare for a Restorative Yoga Class
Before starting any restorative practice, it’s important to prepare both your physical space and your mindset. Here are a few tips to get the most out of your session:
Setting the Space
Choose a Quiet Location: Find a place where you can practice without interruptions. A calm environment is essential for the practice of restorative yoga.
Use Props: Restorative yoga relies heavily on props such as blankets, bolsters, blocks, and straps to help support your body in the postures. If you’re practicing at home, gather your props in advance.
Dim the Lights: Soft lighting helps set a peaceful tone and signals to the nervous system that it’s time to relax.
Play Soft Music: If you like, play calming music or nature sounds in the background to help set the mood.
Wear Comfortable Clothing: Opt for loose-fitting, comfortable clothes that allow for freedom of movement.
Preparing Your Mind
Take a moment before you begin to center yourself. You might want to practice a few minutes of deep breathing or even a short meditation. Close your eyes, breathe deeply, and release any thoughts of your day. Set an intention for your practice, whether it’s to let go of stress, find more peace, or simply listen to your body.
The Structure of a One-Hour Restorative Yoga Sequence
A one-hour restorative yoga class typically follows a flow that includes a gentle warm-up, followed by several restorative poses, and ending with a long relaxation period. The sequence should be slow and intentional, with long holds in each posture to promote deep relaxation.
Warm-Up: Grounding and Centering
Start with a grounding practice that helps connect you to the present moment. This step is crucial as it prepares the body and mind for the deeper work to come.
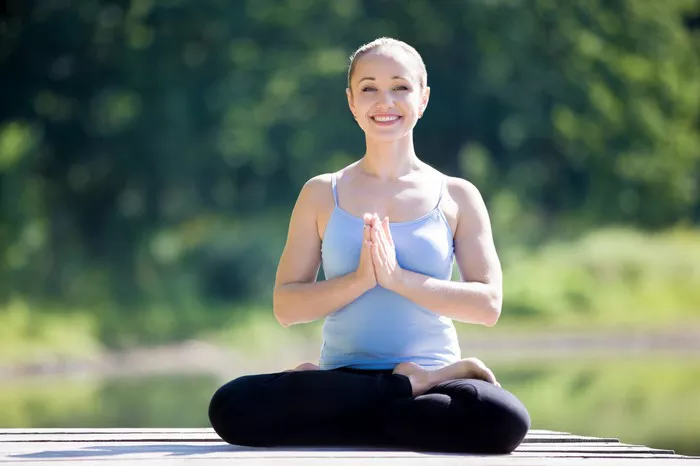
1. Easy Seated Pose (Sukhasana) – 5 Minutes
Begin by sitting comfortably on the floor or on a cushion. Keep your spine tall, your shoulders relaxed, and your hands resting on your knees. Close your eyes, and take several deep breaths. Inhale deeply through your nose, and exhale fully through your mouth. Focus on the breath, letting go of any tension in your body. Stay here for a few minutes, focusing on bringing awareness to the present moment.
2. Seated Side Stretch – 3 Minutes
From Sukhasana, gently inhale as you raise your left arm overhead. On the exhale, gently lean to the right, stretching the left side of your body. Keep your hips grounded and your breath smooth. Hold for a few breaths, then slowly return to center. Repeat on the other side.
Restorative Poses to Deepen Relaxation
Now that your body is gently warmed up, we will move into the restorative postures. Each of these postures will be supported using props to ensure you can relax fully. Hold each pose for 5-10 minutes to allow for maximum relaxation.
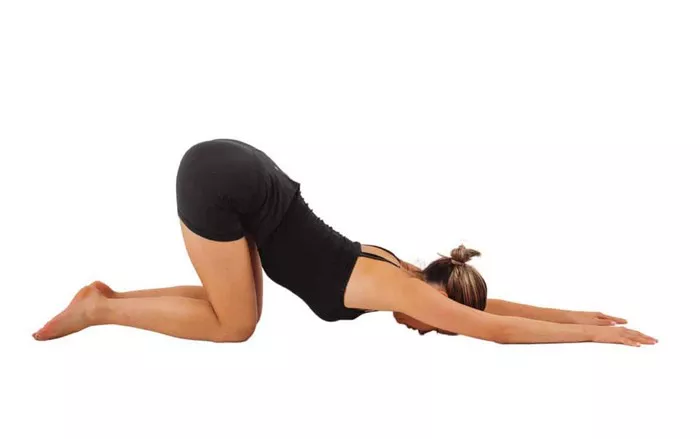
3. Supported Child’s Pose (Balasana) – 8 Minutes
This pose is a gentle stretch for the back and hips and is excellent for calming the mind.
Begin by kneeling on the floor with your big toes touching and knees apart.
Place a bolster or folded blankets under your torso to support you as you lower your chest toward the ground.
Rest your forehead on the floor or place a block underneath your head for extra comfort.
Let your arms extend forward, or place them by your sides.
Breathe deeply and slowly, allowing each breath to relax you further. Stay here for up to 8 minutes.
4. Supported Forward Fold (Paschimottanasana) – 8 Minutes
A forward fold can release tension in the back and hamstrings.
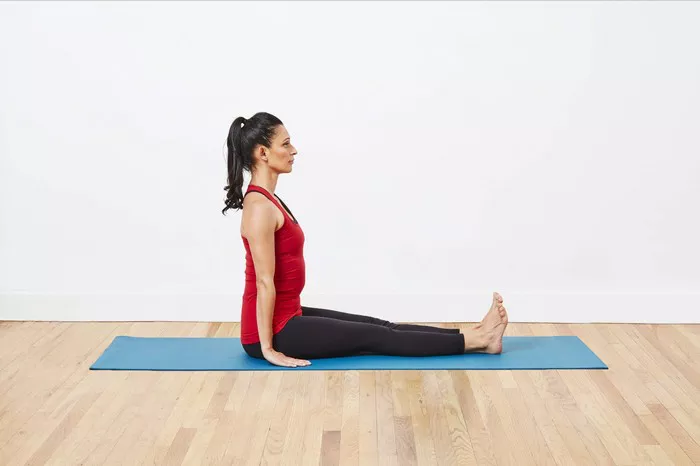
Sit on the floor with your legs extended straight in front of you.
Place a bolster or cushion on top of your thighs.
Gently fold forward, resting your forehead on the prop. If this is uncomfortable, place a block under your head for added support.
Keep your legs relaxed and avoid forcing the stretch. Focus on the sensation of letting go with each breath.
Stay here for 8 minutes, breathing deeply into your lower back.
Opening the Hips and Lower Back
The hips and lower back hold a lot of tension in the body, so it’s important to focus on poses that open these areas in a restorative manner.
5. Supported Reclining Bound Angle Pose (Supta Baddha Konasana) – 10 Minutes
This pose helps to release tension in the hips and groin.
Lie on your back and bring the soles of your feet together, allowing your knees to open out to the sides.
Place a bolster or cushions under your back to support your spine.
Rest your arms out to the sides, palms facing up.
Breathe deeply into the chest, feeling your body relax with each exhale.
Stay in this pose for 10 minutes, allowing the breath to soften any tightness in your hips and lower back.
6. Supported Bridge Pose (Setu Bandhasana) – 8 Minutes
Bridge Pose is often used to release the lower back and engage the core. In restorative yoga, this pose is done with the help of props to reduce the effort and increase the relaxation.
Lie on your back with your knees bent and feet flat on the floor, hip-width apart.
Place a bolster or cushion under your hips, elevating the pelvis. This will help you relax into the pose without strain.
Allow your arms to rest by your sides or extend them above your head for an extra stretch.
Focus on your breath and let go of any tension in your back. Hold for 8 minutes.
See Also: Can Restorative Yoga Help Relieve Sciatica Pain?
Final Relaxation: Resting in Stillness
As you come toward the end of your practice, it’s important to spend time in stillness and relaxation. This is the time when your body integrates the benefits of the practice.
7. Supported Savasana (Corpse Pose) – 10-15 Minutes
Savasana is the most important part of a restorative yoga practice. This is when the body enters deep rest and healing takes place.
Lie on your back, placing a bolster or blanket under your knees to support the lower back.
You can place an eye pillow or a light cloth over your eyes to deepen the relaxation.
Let your arms rest by your sides, palms facing up.
Allow your body to completely relax, letting go of any lingering tension.
Focus on your breath, and if your mind wanders, gently bring your awareness back to the sensation of your breath entering and leaving your body.
Stay in this final pose for 10-15 minutes.
Conclusion
A one-hour restorative yoga sequence offers a profound opportunity to slow down and reconnect with yourself. Through supported postures and mindful breathwork, you can release physical tension, quiet the mind, and promote a sense of calm and peace. As you become more familiar with these poses, you’ll find that restorative yoga becomes an essential tool for managing stress and enhancing your overall well-being.
Remember, the essence of restorative yoga is to relax fully into the postures without forcing any movements. Trust that by allowing your body the space and support it needs, you will experience the deep healing that restorative yoga has to offer.
Take this time for yourself, and know that when you give your body the rest it deserves, it will thank you with greater energy and vitality in the days to come.
You Might Be Interested In

