In the realm of yoga, leg stretching poses play a crucial role in enhancing flexibility, relieving muscle tension, and improving overall lower body strength. These poses not only target the legs but also have a profound impact on the hips, lower back, and pelvic region. Let’s explore some of the most effective leg stretching yoga poses along with their names and detailed instructions.
Standing Forward Fold
Pose Description: Stand with your feet hip-width apart. Inhale deeply, lengthening your spine. As you exhale, hinge forward at the hips, keeping your back straight. If possible, place your hands on the floor beside your feet or hold onto your elbows.
Benefits: This pose stretches the hamstrings, calves, and lower back. It helps to increase blood flow to the brain, relieving stress and improving mental clarity. Additionally, it can help to correct postural imbalances and reduce lower back pain.
Precautions: If you have tight hamstrings, it’s important to bend your knees slightly to avoid overstretching. Also, make sure to keep your neck in line with your spine and avoid rounding your back too much.
Low Lunge
Pose Description: Start by standing in a split stance, with one foot forward and the other foot back. Bend the front knee, making sure it is directly above the ankle, and lower your back knee towards the floor. Place your hands on the floor on either side of the front foot or rest them on your front thigh.
Benefits: The low lunge stretches the hip flexors, quadriceps, and calves of the back leg, while also strengthening the muscles of the front leg. It helps to improve balance and stability, and can also relieve lower back pain by opening up the hips.
Precautions: Keep your front knee in line with your ankle to avoid putting excessive pressure on the joint. If you feel any pain in the knee, come out of the pose or modify it by placing a cushion under the back knee for support.
Low Lunge Twist
Pose Description: From the low lunge position, twist your torso towards the front leg. Reach your back hand towards the front foot and hold onto the outside of the foot or ankle. Your front arm can either rest on the floor or reach up towards the ceiling.
Benefits: In addition to the benefits of the low lunge, this twist further stretches the hips, obliques, and spine. It helps to improve spinal flexibility and digestion, and also relieves tension in the lower back and shoulders.
Precautions: Make sure to twist from the base of your spine and not just from your shoulders. Keep your hips squared and your front knee stable to avoid any strain on the lower back or knees.
Half Monkey Pose
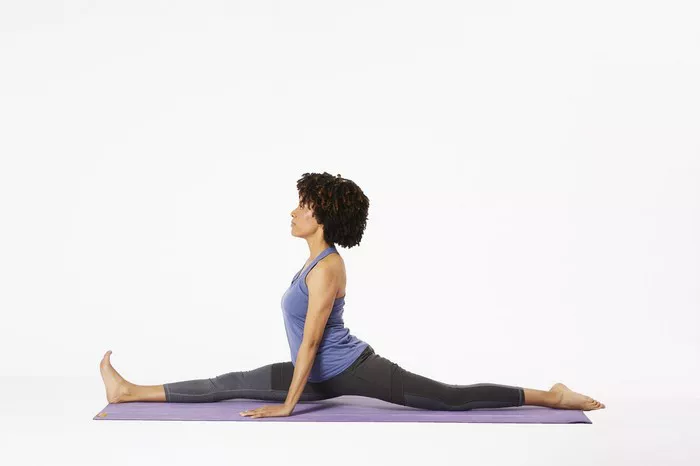
Pose Description: Begin in a low lunge position and then slowly slide the back leg back, straightening it as much as possible while keeping the hips level. The front leg should remain bent with the knee directly above the ankle. Place your hands on the floor on either side of the front foot or on your front thigh.
Benefits: This pose deeply stretches the hamstrings, groin, and hip flexors of the back leg. It helps to increase flexibility in the hips and legs, and also improves balance and concentration.
Precautions: Avoid locking the knee of the back leg and keep the hips square to the front of the mat. If you can’t fully straighten the back leg, it’s okay to keep a slight bend in the knee.
Extended Side Angle Pose
Pose Description: From a standing position, step one foot out to the side and bend the front knee, keeping it in line with the ankle. Reach your bottom hand towards the floor on the inside of the front foot, and extend your top arm overhead, with your palm facing down. Your body should form a diagonal line from the back heel to the fingertips of the top hand.
Benefits: The extended side angle pose stretches the inner thighs, hips, and side body. It helps to improve lateral flexibility, strengthen the legs and core, and also opens up the chest and shoulders.
Precautions: Keep your weight evenly distributed between both feet and avoid collapsing into the front knee. If you have difficulty reaching the floor with your bottom hand, you can use a block for support.
Double Angle Pose
Pose Description: Stand with your feet wide apart, toes pointing forward. Inhale and lengthen your spine, then exhale and hinge forward at the hips, placing your hands on the floor or on blocks in front of you. Keep your back straight and your head in line with your spine.
Benefits: This pose stretches the inner thighs, hamstrings, and calves. It helps to increase flexibility in the hips and legs, and also improves circulation to the lower body. Additionally, it can relieve lower back pain and improve posture.
Precautions: If you have tight hamstrings, you can bend your knees slightly to make the pose more accessible. Avoid rounding your back and keep your neck relaxed throughout the pose.
Cow Face Pose
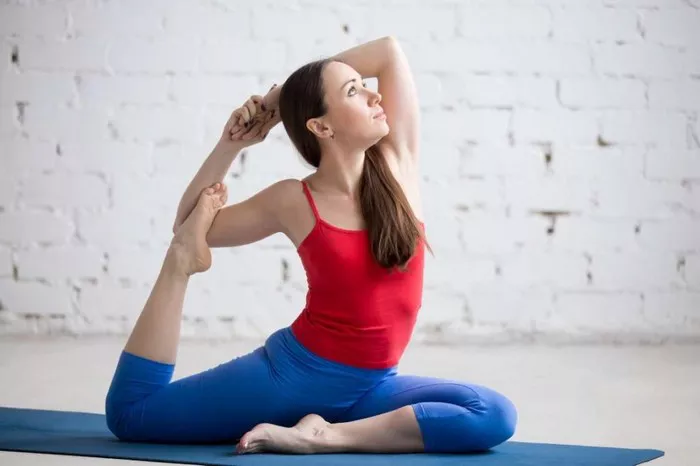
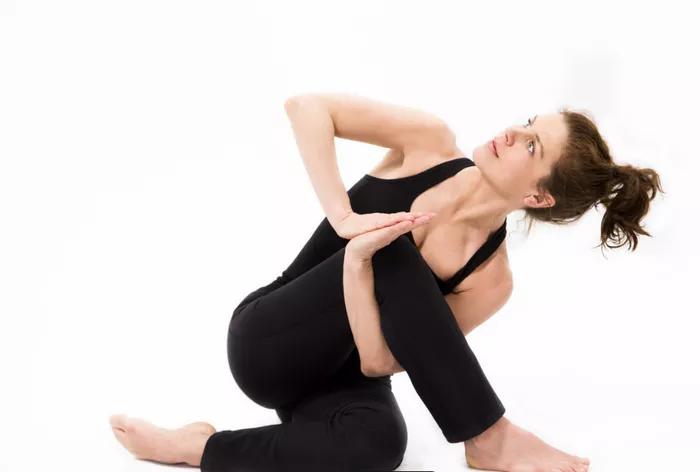
Pose Description: Sit on the floor with your legs extended in front of you. Bend your right leg and place it over your left leg, so that your knees are stacked on top of each other. Bring your feet in towards your hips and try to align your heels with your buttocks. Reach your right arm up towards the ceiling and then bend it at the elbow, bringing your hand down towards your upper back. Reach your left arm behind your back and clasp your hands together, or use a strap to hold your hands if you can’t reach.
Benefits: Cow face pose stretches the hips, thighs, and shoulders. It helps to improve flexibility in the hips and spine, and also relieves tension in the upper back and neck. Additionally, it can enhance balance and concentration.
Precautions: If you have tight hips or shoulders, it may be difficult to get into the full pose. Start with a modified version by using props or only going as far as you can comfortably. Avoid forcing your body into the pose and listen to your body’s limits.
Reclining Hand-to-Big-Toe Pose
Pose Description: Lie on your back on the yoga mat with your legs extended. Bend your right knee and place a strap or towel around the ball of your right foot. Hold onto the strap with your right hand and gently straighten your leg, lifting it up towards the ceiling. Keep your left leg firmly pressed into the floor and your lower back in contact with the mat.
Benefits: This pose stretches the hamstrings, calves, and groin of the raised leg. It helps to improve flexibility in the legs and hips, and also relieves lower back pain by decompressing the spine. Additionally, it can calm the mind and reduce stress.
Precautions: Make sure to keep your lower back pressed into the mat to avoid arching it. If you have lower back pain or a herniated disc, consult your doctor before attempting this pose.
Supine Needle’s Eye Pose
Pose Description: Lie on your back with your legs extended. Bend your right knee and place your right foot on top of your left thigh, just above the knee. Interlace your fingers around your left thigh and gently pull it towards your chest, keeping your lower back flat on the mat.
Benefits: The supine needle’s eye pose stretches the hips, glutes, and lower back. It helps to relieve tension in the pelvic region and improve flexibility in the hips. Additionally, it can enhance digestion and relieve stress.
Precautions: Avoid pushing your lower back into the mat too hard and keep your shoulders relaxed. If you feel any pain or discomfort in the hips or lower back, come out of the pose immediately.
Conclusion
Incorporating these leg stretching yoga poses into your regular practice can bring about significant improvements in your flexibility, strength, and overall well-being. Remember to always listen to your body, start with the poses that are appropriate for your level of flexibility, and gradually progress as you become more comfortable and confident in your practice. With consistent practice, you’ll notice a reduction in muscle tension, increased range of motion in your legs, and a greater sense of relaxation and balance in your body.
Related topics


