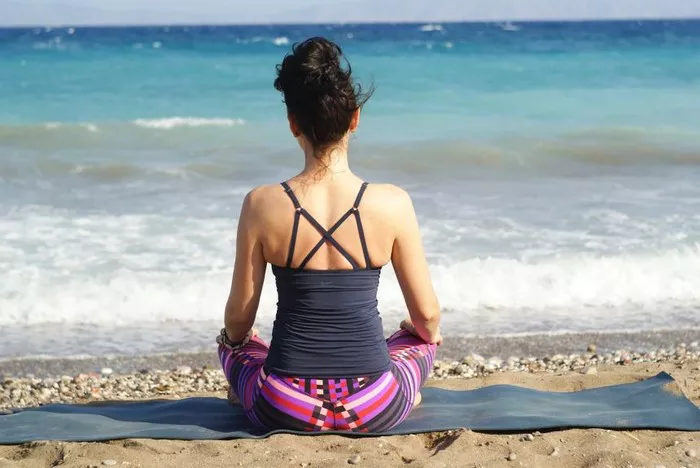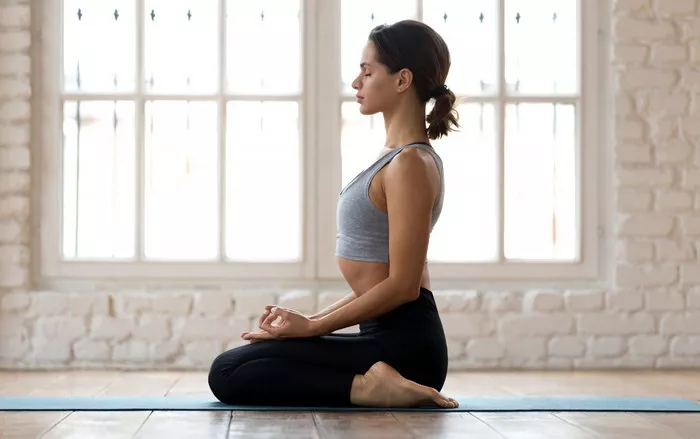
Sun Salutation, or Surya Namaskar, is a foundational sequence in yoga that warms up the body, improves flexibility, and enhances mental focus. It consists of a series of poses performed in a flowing manner, synchronized with the breath. Traditionally practiced in the morning, it energizes the body and prepares the mind for the day ahead.
For beginners, learning Sun Salutation step by step ensures proper alignment, prevents injury, and maximizes its benefits. In this guide, we will break down the sequence, explain the benefits of each pose, and provide tips to refine your practice.
Benefits of Sun Salutation
- Improves flexibility – Stretches and lengthens major muscle groups, increasing mobility over time.
- Strengthens muscles and joints – Engages core, arms, legs, and back muscles for full-body toning.
- Enhances cardiovascular health – The dynamic flow increases heart rate and promotes circulation.
- Boosts energy and focus – Deep breathing and movement invigorate the body and mind.
- Aids digestion – Stimulates internal organs, improving metabolism and digestive function.
- Promotes mindfulness – Encourages breath awareness and mental clarity.
Preparations Before Practicing
- Choose a quiet, well-ventilated space with enough room to move freely.
- Use a yoga mat for support and grip.
- Wear comfortable, stretchy clothing to allow unrestricted movement.
- Warm up with gentle stretches if your body feels stiff.
- Practice on an empty stomach or at least two hours after a meal.
- Focus on breathing deeply to synchronize movement with breath.
Step-by-Step Guide to Sun Salutation
1. Pranamasana (Prayer Pose)
- Stand at the front of your mat with feet together.
- Bring your palms together in front of your chest in a prayer position.
- Keep your spine straight and shoulders relaxed.
- Take a deep breath in and out, setting an intention for your practice.
2. Hasta Uttanasana (Raised Arms Pose)
- Inhale and lift your arms overhead.
- Gently arch your back, pushing your hips forward.
- Keep your biceps close to your ears and gaze towards the sky.
- Engage your core to avoid over-arching the lower back.
3. Uttanasana (Standing Forward Bend)
- Exhale and bend forward from the hips.
- Keep your spine long and bring your hands to the floor (or shins if flexibility is limited).
- Allow your head to relax, aiming to bring it close to your knees.
- Slightly bend your knees if needed to protect your lower back.
4. Ashwa Sanchalanasana (Low Lunge)
- Inhale and step your right foot back into a lunge position.
- Lower your right knee to the floor and look up.
- Keep your left knee bent at a 90-degree angle, with your left foot grounded.
- Ensure your back leg is stretched out and engaged.
5. Dandasana (Plank Pose)
- Exhale and step your left foot back, bringing your body into a straight line.
- Engage your core and align your shoulders over your wrists.
- Keep your neck in line with your spine and avoid sagging hips.
- Hold for a breath, activating your entire body.
6. Ashtanga Namaskara (Eight-Limbed Pose)
- Exhale and lower your knees, chest, and chin to the floor.
- Keep your elbows close to your body.
- Your hips remain slightly lifted, forming a gentle curve in your back.
7. Bhujangasana (Cobra Pose)
- Inhale and slide your chest forward, lifting it while keeping your elbows slightly bent.
- Press the tops of your feet into the mat.
- Open your chest and gaze upward.
- Avoid straining your lower back by using arm and core strength.
8. Adho Mukha Svanasana (Downward-Facing Dog)
- Exhale and lift your hips up and back.
- Press your hands firmly into the mat and straighten your legs.
- Aim to bring your heels toward the floor.
- Keep your head relaxed between your arms, forming an inverted V shape.
9. Ashwa Sanchalanasana (Low Lunge – Opposite Leg)
- Inhale and step your right foot forward between your hands.
- Lower your left knee to the floor and look up.
- Keep your right knee stacked over your right ankle.
10. Uttanasana (Standing Forward Bend)
- Exhale and step your left foot forward to meet the right.
- Fold forward, keeping the spine long.
- Relax your head and allow gravity to deepen the stretch.
11. Hasta Uttanasana (Raised Arms Pose)
- Inhale and lift your torso back up.
- Stretch your arms overhead, gently arching your back.
- Keep your core engaged for stability.
12. Pranamasana (Prayer Pose)
- Exhale and bring your palms together in front of your chest.
- Stand tall and take a moment to feel the effects of the practice.
- Breathe deeply and relax.
Tips for Beginners
- Move slowly and mindfully to avoid rushing through the sequence.
- Synchronize each movement with breath for a fluid practice.
- Modify poses as needed, using blocks or bending knees for support.
- Start with 3-5 rounds and gradually increase as your stamina improves.
- Maintain consistency – practicing daily brings better results over time.
- Listen to your body – avoid overstraining and rest if needed.
Common Mistakes to Avoid
- Holding the breath instead of coordinating it with movements.
- Rushing through poses without maintaining proper alignment.
- Overarching the lower back in Cobra Pose.
- Letting the shoulders collapse in Plank Pose.
- Forcing the heels to the ground in Downward Dog.
Conclusion
Sun Salutation is a beautiful, dynamic sequence that offers numerous physical and mental benefits. By practicing with mindfulness and proper technique, beginners can build strength, flexibility, and a sense of inner peace. Start at your own pace, gradually increasing the number of rounds as you become more comfortable. Over time, you will experience enhanced energy, improved focus, and a deeper connection between body and breath.
With dedication and practice, Sun Salutation can become a powerful tool to cultivate wellness in your daily life. Happy practicing!
Related topics