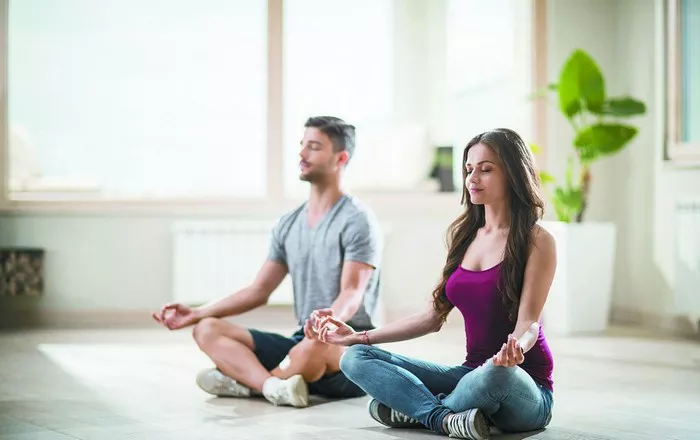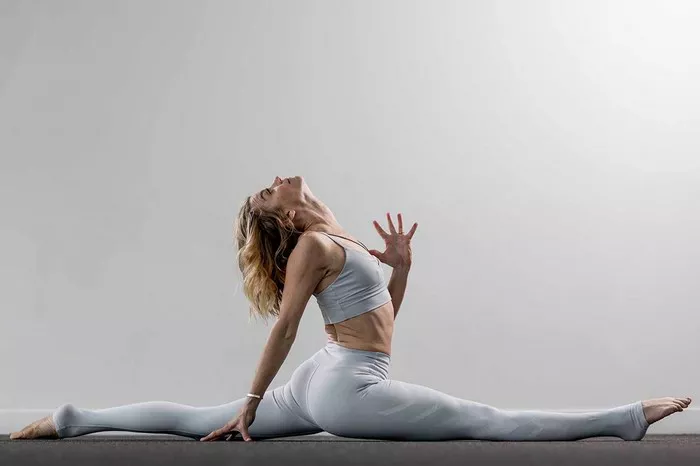
Yoga, an ancient practice with deep roots in Indian culture, offers a wide range of physical and mental benefits. For both beginners and advanced practitioners, one of the most frequent questions is: “Which yoga positions are easy?” While the definition of “easy” can vary depending on a person’s body type, flexibility, and prior experience, this article will outline a series of yoga poses that are generally considered beginner-friendly. These poses are excellent for building strength, improving flexibility, and cultivating balance—without causing unnecessary strain. Additionally, we’ll discuss the benefits of each pose and tips on how to approach them for a safe and effective practice.
Understanding Yoga Poses: A Brief Overview
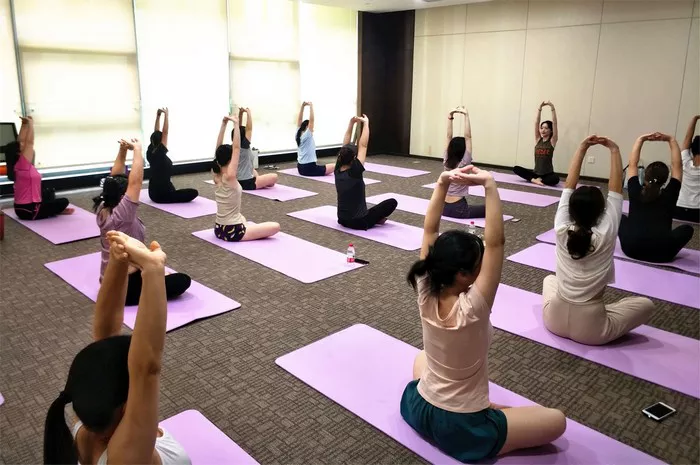
Yoga poses, also called asanas, are physical postures that help to stretch, strengthen, and stabilize the body. They are often integrated into sequences that flow from one pose to the next. While advanced poses can be challenging and require significant practice and control, there are many poses that are accessible to beginners. These basic poses still provide immense value, especially when performed with proper alignment and mindfulness.
It’s essential to approach yoga with the understanding that every body is different. A “beginner” pose for one person might be more challenging for another, depending on their flexibility, strength, or previous injuries. However, with consistent practice, most people can comfortably progress through these beginner poses and deepen their yoga practice over time.
Easy Yoga Poses for Beginners
Below are some of the easiest and most foundational yoga poses that can be practiced by individuals of all skill levels. These asanas can be modified as needed to fit your body’s current abilities, and they provide a strong foundation for more advanced practice in the future.
1. Mountain Pose (Tadasana)
Benefits: Tadasana is the foundation for many standing poses and a great way to work on posture. It promotes alignment, stability, and balance while strengthening the legs, core, and back.
How to Do It:
- Stand with your feet together, or slightly apart if that feels better.
- Spread your toes and engage the muscles in your legs.
- Lengthen through your spine and reach the crown of your head toward the ceiling.
- Keep your arms by your sides, with your palms facing forward.
- Take deep, steady breaths, holding the position for 30 seconds to a minute.
Tips: Keep your weight evenly distributed on both feet and avoid locking your knees. If you feel unbalanced, try slightly bending your knees.
2. Child’s Pose (Balasana)
Benefits: Balasana is a restorative pose that gently stretches the back, hips, and thighs. It also encourages relaxation and stress relief, making it an excellent choice for beginners looking to release tension.
How to Do It:
- Start on your hands and knees, with your wrists directly under your shoulders and your knees under your hips.
- Slowly lower your hips back towards your heels, bringing your forehead to the floor.
- Extend your arms forward or rest them by your sides, palms facing up.
- Focus on deep, relaxing breaths, staying in the pose for 30 seconds to a few minutes.
Tips: If your forehead doesn’t reach the floor, place a blanket or cushion underneath it for added comfort. You can also place a block or cushion between your thighs if your hips don’t comfortably reach them.
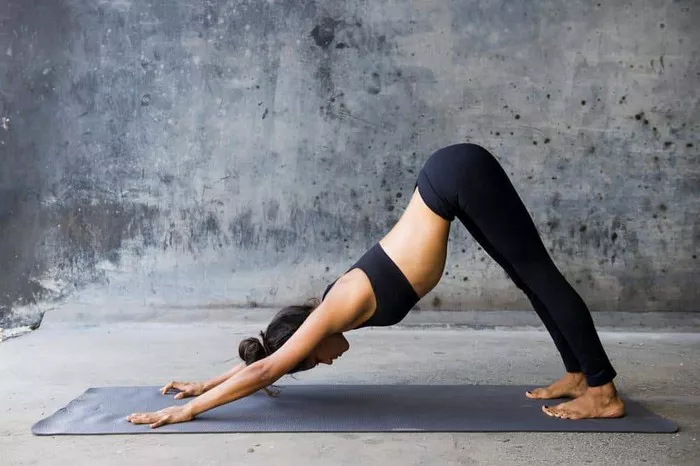
3. Downward-Facing Dog (Adho Mukha Svanasana)
Benefits: This classic pose stretches the hamstrings, calves, and spine while strengthening the arms, shoulders, and core. It helps to increase overall body flexibility and energy levels.
How to Do It:
- Start on your hands and knees, with your wrists directly under your shoulders and your knees under your hips.
- Tuck your toes and slowly lift your hips up and back, aiming to form an inverted V-shape.
- Keep your hands shoulder-width apart and your feet hip-width apart.
- Press firmly into your palms and keep your fingers spread wide.
- Hold the position for 15-30 seconds, breathing deeply.
Tips: If your heels do not reach the floor, that’s okay—focus on lengthening your spine. Keep your head between your arms and gaze toward your legs. You can bend your knees slightly to help lengthen your spine.
4. Cat-Cow Pose (Marjaryasana-Bitilasana)
Benefits: This dynamic movement helps to increase flexibility in the spine while also stimulating and stretching the back and neck. It’s a great way to release tension in the torso and improve posture.
How to Do It:
- Start on your hands and knees with your wrists directly under your shoulders and your knees under your hips.
- For Cow Pose: Inhale and gently arch your back, lifting your chest and tailbone toward the sky, allowing your belly to sink toward the floor.
- For Cat Pose: Exhale as you round your spine toward the ceiling, tucking your chin to your chest, and drawing your belly button toward your spine.
- Flow between these two poses for 5-10 rounds, breathing deeply and synchronizing your breath with your movement.
Tips: Move slowly and mindfully between the two positions, focusing on the sensation of releasing tension in the spine. Ensure that the movement comes from the core and not from forcing your lower back into a deep curve.
5. Seated Forward Fold (Paschimottanasana)
Benefits: This seated stretch targets the hamstrings, lower back, and calves. It’s a great pose for improving flexibility and calming the mind.
How to Do It:
- Sit on the floor with your legs extended straight in front of you.
- Inhale and lengthen your spine, sitting tall.
- Exhale as you slowly fold forward, hinging at the hips.
- Reach your hands toward your feet or ankles, keeping a straight back as you lower toward your legs.
- Hold the position for 20-30 seconds, breathing deeply.
Tips: If you have tight hamstrings, bend your knees slightly to help prevent strain. You can also place a folded blanket under your hips for additional support.
6. Bridge Pose (Setu Bandhasana)
Benefits: Setu Bandhasana strengthens the glutes, hamstrings, and lower back while stretching the chest and spine. It also helps to improve posture and alleviate lower back tension.
How to Do It:
- Lie on your back with your knees bent and feet flat on the floor, hip-width apart.
- Press your feet into the floor and engage your glutes and thighs to lift your hips toward the ceiling.
- Keep your arms by your sides, with palms facing down.
- Hold for 20-30 seconds, breathing steadily.
Tips: Avoid letting your knees splay outward; keep them aligned with your hips. If you need more support, you can place a block or cushion under your sacrum to make the pose gentler.
7. Cobra Pose (Bhujangasana)
Benefits: Cobra pose helps to open up the chest and stretches the spine, chest, and shoulders. It also strengthens the lower back and arms.
How to Do It:
- Lie on your stomach with your hands placed under your shoulders and your elbows close to your body.
- Press the tops of your feet into the floor and gently lift your chest, using your back muscles to engage the movement.
- Keep your elbows slightly bent and your shoulders away from your ears.
- Hold for 15-30 seconds, breathing deeply.
Tips: Avoid pushing into your lower back; instead, engage your core muscles to support the lift. If you feel strain in your lower back, lower your chest back down and try a gentler version of the pose with less lift.
8. Tree Pose (Vrksasana)
Benefits: Tree pose is excellent for improving balance and concentration while strengthening the legs and core. It also helps to stretch the hips and groin.
How to Do It:
- Stand tall in Mountain Pose (Tadasana).
- Shift your weight onto one leg and place the sole of the opposite foot on the inner thigh or calf of the standing leg (avoid the knee).
- Bring your palms together in front of your chest or extend your arms overhead, keeping your shoulders relaxed.
- Hold for 30 seconds to 1 minute, then switch sides.
Tips: Focus your gaze on a stationary point in front of you to help with balance. If needed, keep a slight bend in your standing knee to avoid locking it.
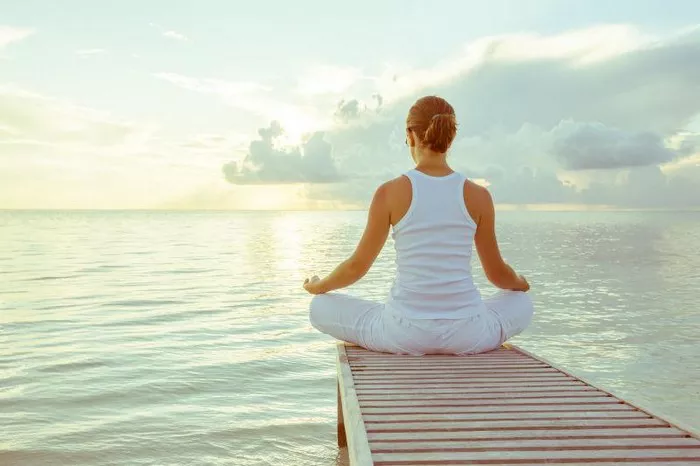
9. Corpse Pose (Savasana)
Benefits: While this may seem like an unusual “pose,” Savasana is an integral part of every yoga practice. It allows the body and mind to fully relax and absorb the benefits of the practice.
How to Do It:
- Lie flat on your back with your legs extended and arms by your sides, palms facing upward.
- Close your eyes and focus on your breath, letting go of any tension in the body.
- Stay in this position for 5-10 minutes.
Tips: Use props like blankets or cushions to make the pose more comfortable. Ensure your body is fully supported and that your mind is at ease, focusing solely on your breath.
Conclusion
Yoga is a personal journey, and each practitioner progresses at their own pace. It’s essential to remember that even though some poses may seem “easy,” each one provides valuable benefits for the body and mind. Whether you’re just starting or looking to refine your practice, these foundational poses will help you develop strength, flexibility, and mindfulness.
Related Topics: