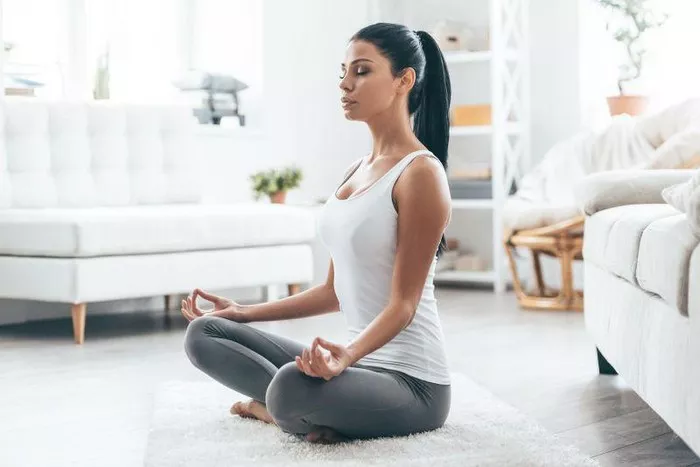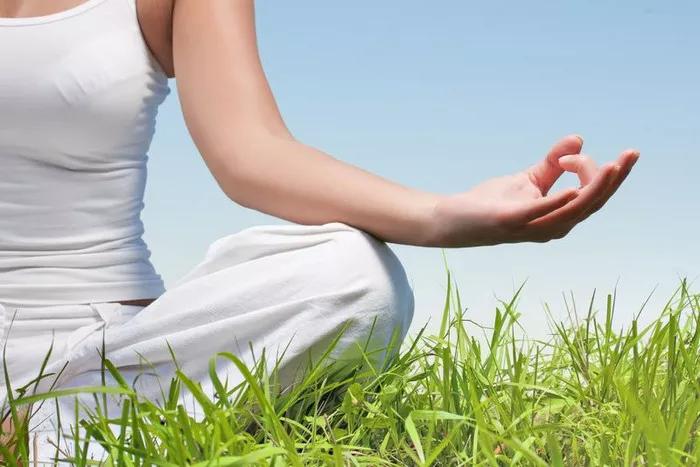
Vinyasa yoga is a dynamic and flowing style of yoga that synchronizes movement with breath. The term “vinyasa” comes from the Sanskrit words “vi,” meaning “in a special way,” and “nyasa,” meaning “to place.” In the context of yoga, it refers to a smooth transition between poses, often guided by inhalation and exhalation. Vinyasa is widely practiced in modern yoga classes, offering both physical and mental benefits, including improved strength, flexibility, focus, and relaxation.
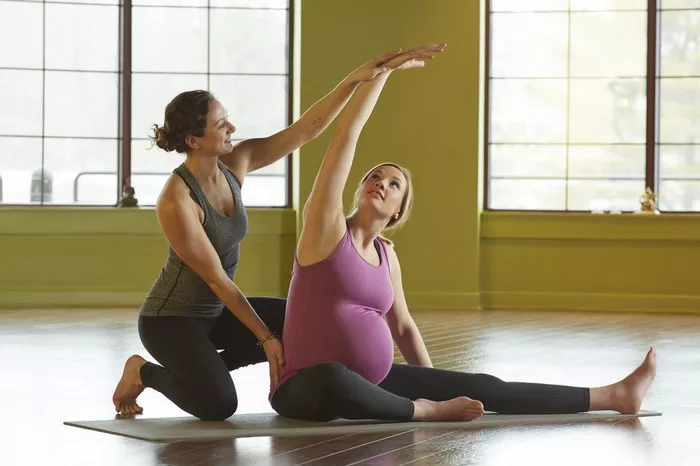
A “vinyasa” in its most basic form consists of a sequence of four essential postures that create a smooth and fluid transition within a yoga practice. These four steps form the foundation of many Vinyasa yoga sequences and are commonly practiced in styles like Ashtanga, Power Yoga, and Flow Yoga. Mastering these four steps can help practitioners build strength, improve flexibility, and deepen their overall yoga practice.
Step 1: Chaturanga Dandasana (Four-Limbed Staff Pose)
Chaturanga Dandasana, often simply called “Chaturanga,” is a fundamental yoga pose that builds upper body strength and prepares the body for arm balances and inversions.
How to Perform Chaturanga Dandasana:
- Start in a high plank position with your shoulders aligned over your wrists and your body forming a straight line from head to heels.
- Engage your core muscles to stabilize your spine and prevent your lower back from sagging.
- On an exhalation, bend your elbows to lower your body toward the floor, keeping your elbows close to your ribs.
- Stop when your upper arms are parallel to the ground, and your body remains in a straight line.
- Hold for a moment before transitioning to the next pose.
Benefits of Chaturanga Dandasana:
- Strengthens the arms, shoulders, and core muscles.
- Improves posture and alignment.
- Prepares the body for more advanced arm balances and inversions.
Common Mistakes to Avoid:
- Letting the elbows splay out to the sides (they should remain close to the ribs).
- Dropping the hips too low, which can strain the lower back.
- Holding the breath—always maintain steady breathing.
Step 2: Urdhva Mukha Svanasana (Upward-Facing Dog)
Upward-Facing Dog is a powerful backbend that opens the chest, strengthens the arms, and improves spinal flexibility.
How to Perform Urdhva Mukha Svanasana:
- From Chaturanga, roll over your toes so that the tops of your feet press into the mat.
- Press into your hands and straighten your arms to lift your chest while keeping the shoulders drawn away from the ears.
- Engage your quadriceps to lift your knees off the ground, keeping only the tops of your feet and hands touching the mat.
- Open your chest forward and upward, maintaining a smooth, steady breath.
- Hold for a moment before transitioning to the next pose.
Benefits of Urdhva Mukha Svanasana:
- Strengthens the spine, arms, and wrists.
- Improves flexibility in the chest and shoulders.
- Stimulates abdominal organs and improves digestion.
Common Mistakes to Avoid:
- Letting the shoulders scrunch up toward the ears.
- Allowing the elbows to remain bent instead of fully extending them.
- Failing to engage the legs, which can cause unnecessary strain on the lower back.
Step 3: Adho Mukha Svanasana (Downward-Facing Dog)
Downward-Facing Dog is a foundational yoga pose that stretches the entire body, strengthens the arms and legs, and calms the mind.
How to Perform Adho Mukha Svanasana:
- From Upward-Facing Dog, lift your hips up and back as you roll over your toes and press your hands firmly into the mat.
- Straighten your arms and legs, creating an inverted V-shape with your body.
- Keep your heels reaching toward the floor, even if they don’t touch.
- Spread your fingers wide and distribute your weight evenly through your hands.
- Relax your neck and gaze toward your belly or between your feet.
- Hold for a few breaths before transitioning to the next pose.
Benefits of Adho Mukha Svanasana:
- Strengthens the arms, shoulders, and legs.
- Stretches the hamstrings, calves, and spine.
- Relieves stress and calms the nervous system.
Common Mistakes to Avoid:
- Rounding the spine—try to maintain a straight back.
- Collapsing into the shoulders—engage your arms and shoulders for support.
- Holding tension in the neck—keep it relaxed.
Step 4: Transition Back to the Next Pose
After completing the sequence, you may transition back to a standing pose, a forward fold, or another yoga posture based on the flow of your practice. The transition should be smooth and guided by the breath to maintain the fluid nature of Vinyasa yoga.
Common transitions include:
- Stepping or hopping forward into a standing position (such as Tadasana or Uttanasana).
- Flowing back into another Sun Salutation or yoga sequence.
- Moving into a resting pose, such as Balasana (Child’s Pose), if you need a break.
Conclusion
The four basic steps of taking a vinyasa—Chaturanga Dandasana, Urdhva Mukha Svanasana, Adho Mukha Svanasana, and the transition—form the backbone of many Vinyasa yoga classes. Understanding and mastering these movements can enhance your yoga practice by building strength, improving flexibility, and deepening your breath awareness. Whether you are a beginner or an advanced practitioner, focusing on proper alignment and mindful breathing will help you get the most out of your vinyasa practice. With time and consistency, you will find that these movements become second nature, allowing you to move through your yoga sequences with grace and ease.
Related Topics: