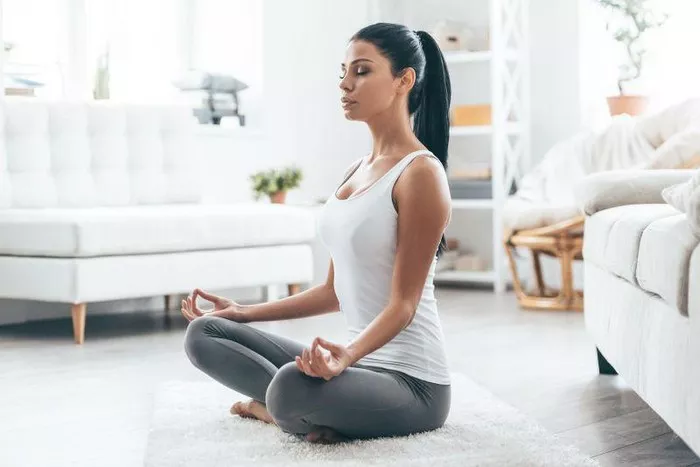
Tight back muscles are one of the most common issues people experience, regardless of age or activity level. Whether it’s from poor posture, long hours of sitting at a desk, lifting heavy objects, or just the natural aging process, the muscles in the back can become stiff and painful. If left unaddressed, this can lead to chronic discomfort and even mobility issues. Yoga is a proven and highly effective method for alleviating muscle tension, improving flexibility, and relieving back pain.
As a yoga instructor with years of experience, I have helped many students manage and overcome tight back muscles. In this article, I will guide you through some of the best yoga poses to loosen tight back muscles. These poses target the lower, middle, and upper back and can help improve both flexibility and strength in your spine, ultimately promoting a healthier, more comfortable back.
1. Child’s Pose (Balasana)
Effect: This is one of the most restorative poses in yoga and is excellent for gently stretching the back, especially the lower back. It provides a deep stretch while calming the nervous system, making it a great option for relieving both physical and mental stress.
How to Do It:
- Start by kneeling on the floor with your big toes touching and knees spread apart.
- Sit your hips back towards your heels, keeping your spine long.
- As you exhale, slowly lower your torso to the ground, bringing your forehead to the mat. Stretch your arms out in front of you or place them by your sides.
- Relax in this position for several breaths, allowing the stretch to deepen with each exhale.
Why It Works: Child’s Pose provides a gentle stretch along the entire back, helping to lengthen and release any tightness, especially in the lumbar (lower) spine. It also relaxes the hips, which can relieve additional tension in the lower back.
2. Cat-Cow Pose (Marjaryasana-Bitilasana)
Effect: The Cat-Cow sequence is a dynamic movement that stretches and strengthens the spine, helping to improve its flexibility. It’s especially effective for loosening up the back, particularly the upper and middle sections.
How to Do It:
- Start in a tabletop position on your hands and knees, with your wrists aligned under your shoulders and your knees aligned under your hips.
- On your inhale, arch your back, dropping your belly toward the floor while lifting your chest and tailbone upwards (this is Cow Pose).
- On your exhale, round your spine, drawing your chin towards your chest and tucking your tailbone (this is Cat Pose).
- Repeat this flow between Cat and Cow for 10–15 rounds, moving slowly and with intention.
Why It Works: The alternating arching and rounding of the spine gently mobilizes the vertebrae, which helps release stiffness and increases flexibility in the back. This flow also encourages spinal alignment and relieves pressure on the lower back.
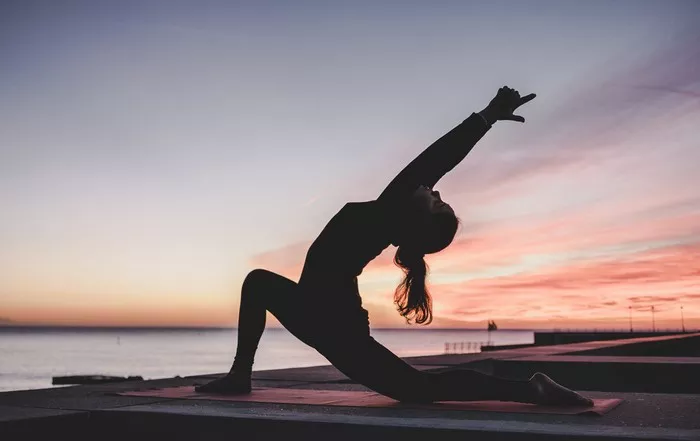
3. Downward-Facing Dog (Adho Mukha Svanasana)
Effect: Downward-Facing Dog is a powerful pose that stretches and strengthens the entire back. It targets the hamstrings, calves, and shoulders while also providing a deep stretch to the spine and relieving tension in the lower back.
How to Do It:
- Begin in a tabletop position with your hands and knees on the floor.
- Lift your hips up towards the ceiling, straightening your legs and arms.
- Press your hands firmly into the mat, spread your fingers wide, and push your chest toward your thighs.
- Keep your head relaxed and your ears aligned with your upper arms.
- Hold for 5–10 breaths, then slowly lower your knees to the floor to rest.
Why It Works: Downward-Facing Dog elongates the spine and opens the entire back, stretching from the tailbone to the neck. By strengthening the arms and legs, it helps support better posture, reducing the strain on your back muscles.
4. Sphinx Pose (Salamba Bhujangasana)
Effect: Sphinx Pose is a gentle backbend that targets the lower back, helping to open the chest and shoulders while relieving tension in the spine. It also improves flexibility in the lumbar region, which is commonly affected by tightness.
How to Do It:
- Begin by lying face down on the floor with your legs extended behind you and the tops of your feet pressing into the ground.
- Place your forearms on the floor with your elbows directly beneath your shoulders.
- Press into your forearms and lift your chest off the floor, keeping your elbows bent and your shoulders relaxed.
- Hold the pose for 5–10 breaths, focusing on lengthening your spine.
Why It Works: Sphinx Pose gently arches the back, opening up the chest and stretching the lumbar spine. This pose helps relieve tension and stiffness in the lower back, making it particularly effective for those with chronic lower back pain.
5. Pigeon Pose (Eka Pada Rajakapotasana)
Effect: Pigeon Pose is particularly effective for opening the hips and relieving tension in the lower back. Tight hips often contribute to back pain, so releasing this area can bring significant relief.
How to Do It:
- Begin in a tabletop position on your hands and knees.
- Bring your right knee forward, placing it behind your right wrist and extending your left leg straight back behind you.
- Lower your hips towards the floor, keeping your back leg extended and your hips squared.
- Lean forward to deepen the stretch, bringing your chest toward the floor if possible.
- Hold for 5–10 breaths, then switch sides.
Why It Works: Pigeon Pose helps release tightness in the hips and lower back, improving mobility and flexibility in the lumbar spine. It also stretches the glutes, which can help alleviate tension caused by sitting for long periods.
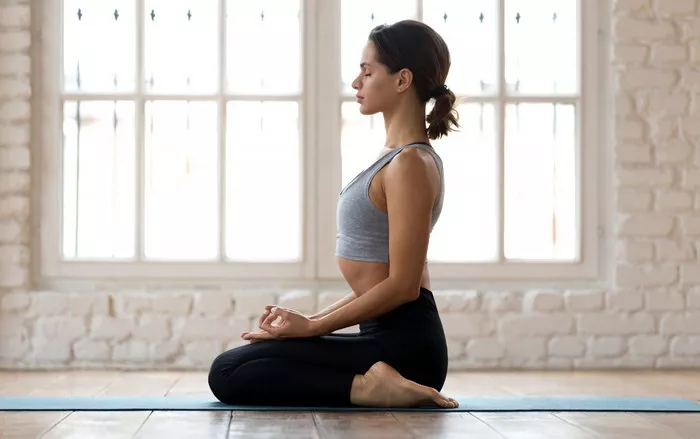
6. Seated Forward Fold (Paschimottanasana)
Effect: Seated Forward Fold is an excellent stretch for the entire back, with a particular focus on the lower back. It stretches the spine, hamstrings, and calves, and promotes flexibility in the entire posterior chain.
How to Do It:
- Sit on the floor with your legs extended straight in front of you and your feet flexed.
- Inhale to lengthen your spine, then exhale as you hinge at your hips, bringing your torso towards your thighs.
- Reach for your feet, ankles, or shins, depending on your flexibility.
- Keep your spine long as you deepen the fold, avoiding rounding your back.
- Hold for 5–10 breaths.
Why It Works: Seated Forward Fold stretches the entire back of the body, particularly targeting the hamstrings and lower back. It also promotes better posture by lengthening the spine and encouraging relaxation in the back muscles.
7. Bridge Pose (Setu Bandhasana)
Effect: Bridge Pose is an effective pose for strengthening and stretching the back muscles. It targets the lower back and hips, while also opening the chest and shoulders.
How to Do It:
- Lie on your back with your knees bent and feet flat on the floor, hip-width apart.
- Place your arms by your sides, palms facing down.
- Press your feet into the floor and lift your hips toward the ceiling, keeping your knees aligned with your hips.
- Engage your core and squeeze your glutes as you lift your chest, keeping your neck long.
- Hold for 5–10 breaths, then slowly lower your spine back to the mat.
Why It Works: Bridge Pose strengthens the glutes and lower back muscles, helping to support the spine. It also opens the chest and hip flexors, relieving tightness in the lower back and promoting better posture.
8. Thread the Needle Pose (Parsva Balasana)
Effect: Thread the Needle Pose is an excellent way to stretch the shoulders, upper back, and neck. It helps release tension that can build up in the upper back due to poor posture or stress.
How to Do It:
- Start in a tabletop position on your hands and knees.
- Slide your right arm under your left arm, bringing your right shoulder and ear to the floor.
- Keep your left hand planted on the ground or reach it overhead for a deeper stretch.
- Hold for 5–10 breaths, then switch sides.
Why It Works: Thread the Needle Pose provides a deep stretch for the upper back and shoulders, which are often sources of tension that can radiate down to the lower back. It helps to improve mobility and relieve tightness in the upper spine.
9. Cobra Pose (Bhujangasana)
Effect: Cobra Pose is another backbend that targets the spine, opening up the chest and strengthening the lower back muscles. It’s particularly beneficial for improving flexibility in the lumbar and thoracic regions of the spine.
How to Do It:
- Begin lying face down on the floor with your legs extended and the tops of your feet pressing into the mat.
- Place your hands under your shoulders, elbows close to your body.
- Inhale and slowly lift your chest off the floor, using your back muscles rather than pushing with your hands.
- Keep your elbows slightly bent and your elbows hugging in toward your body.
- Hold for 5–10 breaths, then gently lower your body back to the mat.
Why It Works: Cobra Pose strengthens the lower back while providing a gentle stretch for the spine. This helps to release tension and improve overall flexibility in the back muscles.
Conclusion
Incorporating these yoga poses into your routine can help significantly relieve tightness in the back muscles. Each pose targets specific areas of the back, from the lower spine to the upper back and shoulders, promoting better flexibility, strength, and posture. Whether you’re new to yoga or an experienced practitioner, these poses can be adapted to suit your level of flexibility and experience.
Remember to always listen to your body, and avoid pushing yourself into any position that causes discomfort or pain. With consistent practice, you will likely find that your back muscles become more flexible, strong, and less prone to tightness, leading to greater comfort and well-being.
Related Topics: