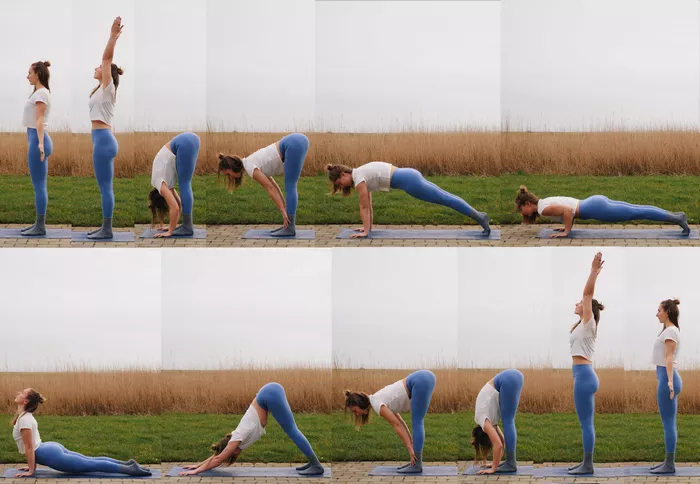
Pelvic pain during pregnancy is a common complaint among expecting mothers. As the body undergoes significant changes to accommodate the growing baby, discomfort in the pelvic region can arise. Prenatal yoga offers a gentle yet effective way to manage pelvic pain, promoting relaxation, flexibility, and strength while providing relief. In this article, we will explore specific yoga poses tailored to alleviate pelvic pain during pregnancy, focusing on precise movements and their benefits.
1. Cat-Cow Stretch:
How to do it: Start on your hands and knees, with wrists directly under shoulders and knees under hips. Inhale, arching your back and lifting your head and tailbone (Cow Pose). Exhale, rounding your spine and tucking your chin to chest (Cat Pose).
Why it helps: Cat-Cow stretch gently mobilizes the spine and pelvis, relieving tension and promoting flexibility in the pelvic area.
2. Supported Bridge Pose:
How to do it: Lie on your back with knees bent and feet flat on the floor. Place a yoga block or folded blanket under your sacrum. Press feet into the floor as you lift your hips towards the ceiling.
Why it helps: Supported Bridge Pose helps release tension in the lower back and pelvic area, while also strengthening the muscles that support the pelvis.
3. Wide-Knee Child’s Pose:
How to do it: Start in Child’s Pose with knees wide apart and big toes touching. Extend arms in front of you, lowering your forehead to the mat.
Why it helps: This variation of Child’s Pose gently stretches the pelvic floor muscles and relieves pressure on the pelvis and lower back.
4. Pelvic Tilts:
How to do it: Lie on your back with knees bent and feet flat on the floor. Inhale, tilting your pelvis forward and arching your lower back slightly. Exhale, tucking your pelvis under and pressing your lower back into the floor.
Why it helps: Pelvic tilts help strengthen the abdominal muscles and stabilize the pelvis, reducing discomfort and promoting proper alignment.
5. Squatting:
How to do it: Stand with feet wider than hip-width apart, toes turned slightly out. Squat down, keeping heels on the floor and chest lifted. You can use a wall or chair for support if needed.
Why it helps: Squatting opens up the pelvic outlet, relieves pressure on the pelvis, and encourages optimal fetal positioning.
6. Seated Butterfly Stretch:
How to do it: Sit on the floor with the soles of your feet together and knees bent out to the sides. Hold onto your ankles and gently press your knees towards the floor.
Why it helps: The seated butterfly stretch stretches the inner thighs and groin muscles, promoting relaxation and alleviating tension in the pelvic area.
7. Supported Warrior II:
How to do it: Stand with feet wide apart. Turn your right foot out 90 degrees and bend your right knee, keeping it aligned with your ankle. Rest your left hand on your left thigh and reach your right arm up, leaning slightly back.
Why it helps: Supported Warrior II strengthens the legs and pelvic muscles while also improving balance and stability.
8. Pelvic Floor Exercises:
How to do it: Sit comfortably or lie down. Inhale deeply, then as you exhale, engage your pelvic floor muscles by imagining lifting them up and in. Hold for a few seconds, then release.
Why it helps: Pelvic floor exercises, also known as Kegels, help improve pelvic floor strength and control, reducing pelvic pain and supporting the weight of the growing uterus.
9. Legs-Up-the-Wall Pose:
How to do it: Sit sideways next to a wall with your knees bent. Lie onto your back and swing your legs up the wall, resting your heels against it. Keep your arms by your sides or place them on your belly.
Why it helps: Legs-Up-the-Wall Pose promotes circulation, reduces swelling in the legs and feet, and relieves pressure on the pelvic area.
10. Pigeon Pose Variation:
How to do it: From a hands-and-knees position, bring your right knee towards your right wrist and angle your right shin under your torso. Extend your left leg straight back, keeping hips square. Lower onto your forearms or a block if comfortable.
Why it helps: Pigeon Pose variation stretches the hip rotators and glute muscles, releasing tension in the pelvic region and improving flexibility.
Conclusion
Incorporating these prenatal yoga moves into your daily routine can significantly alleviate pelvic pain during pregnancy. However, it’s essential to consult with your healthcare provider before starting any new exercise regimen, especially during pregnancy. Listen to your body, modify poses as needed, and practice mindfulness and relaxation techniques to further enhance the benefits of prenatal yoga for pelvic pain relief. With consistent practice, you can enjoy a more comfortable and enjoyable pregnancy journey.


