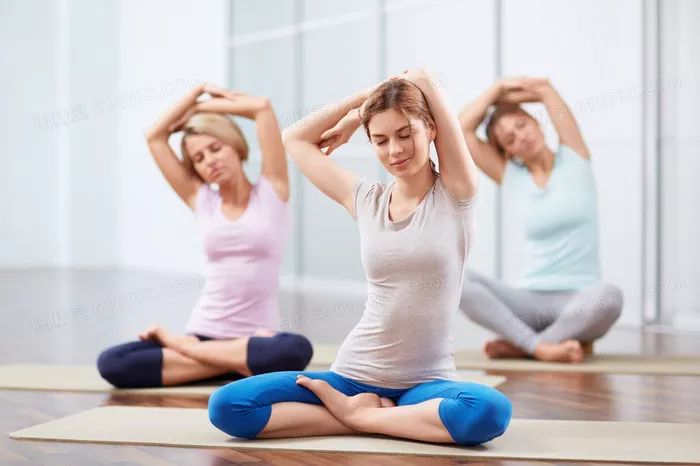
Preparing to Teach Restorative Yoga
1. Developing Your Skills and Knowledge
Before teaching restorative yoga, it is essential to have a solid foundation in yoga practice and teaching. Consider the following steps to prepare yourself:
Complete a Yoga Teacher Training (YTT) Program: Ideally, this should be a 200-hour program certified by Yoga Alliance or an equivalent body. This training provides a broad understanding of yoga philosophy, anatomy, and teaching techniques.
Specialize in Restorative Yoga: Attend workshops, retreats, or additional certification courses focused on restorative yoga. Learning from experienced restorative yoga teachers will deepen your understanding of the practice.
Personal Practice: Develop a personal restorative yoga practice. Experiencing the benefits firsthand will enhance your ability to guide others.
2. Creating a Safe and Welcoming Environment
The environment plays a crucial role in restorative yoga. Here are some tips for setting up your space:
Quiet and Calm Atmosphere: Choose a location that is quiet and free from distractions. Dim the lights or use candles to create a soothing ambiance.
Comfortable Temperature: Ensure the room is warm enough to prevent chilling, as students will be in still poses for extended periods.
Ample Props: Provide enough props for each student. Bolsters, blankets, blocks, eye pillows, and straps are essential for proper support and comfort.
Clean and Organized Space: Keep the space clean and free of clutter. This contributes to a peaceful and inviting atmosphere.
Structuring a Restorative Yoga Class
1. Class Duration and Structure
Restorative yoga classes typically last between 60 to 90 minutes. Here is a suggested structure for a 75-minute class:
- Introduction (5 minutes): Begin with a brief introduction, setting the intention for the class. Explain the principles of restorative yoga and its benefits.
- Warm-Up (10 minutes): Start with gentle movements and stretches to prepare the body. This could include seated stretches, gentle twists, and light movements to release initial tension.
- Main Practice (50 minutes): Guide students through 4 to 6 restorative poses, holding each pose for 5 to 15 minutes. Ensure students are comfortable and supported in each pose.
- Savasana (10 minutes): Conclude with an extended savasana (corpse pose), allowing students to fully relax and integrate the practice.
- Closing (5 minutes): Gently bring students back to a seated position, close the class with a moment of gratitude or a short meditation, and provide any final thoughts or instructions.
2. Key Restorative Poses and Their Benefits
- Supported Child’s Pose (Balasana): Opens the hips and relieves tension in the back.
- Reclined Bound Angle Pose (Supta Baddha Konasana): Opens the chest and hips, promotes relaxation.
- Supported Bridge Pose (Setu Bandhasana): Gently stretches the chest, spine, and hips.
- Legs Up the Wall Pose (Viparita Karani): Relieves tired legs and feet, promotes circulation.
- Reclining Twist (Supta Matsyendrasana): Releases tension in the spine and aids digestion.
- Supported Savasana: Deep relaxation and full-body release.
Teaching Techniques and Tips
1. Guiding Students Into Poses
Clear Instructions: Provide clear and concise instructions for each pose. Use simple language and avoid overloading students with too much information at once.
Demonstration and Assistance: Demonstrate the pose first, then offer individual assistance to ensure students are properly aligned and supported.
Adjustments and Modifications: Offer adjustments and modifications to accommodate different body types and flexibility levels. Use props creatively to support each student’s needs.
2. Encouraging Mindfulness and Relaxation
- Breath Awareness: Encourage students to focus on their breath, using it as an anchor to remain present. Teach deep, diaphragmatic breathing to enhance relaxation.
- Gentle Encouragement: Use a calm, soothing voice to guide students. Offer gentle encouragement and remind them to let go of any tension or effort.
- Silence and Stillness: Emphasize the importance of silence and stillness. Allow time for students to settle into each pose without feeling rushed.
3. Creating a Supportive Community
- Personal Connection: Take the time to connect with your students before and after class. Building personal relationships fosters a sense of community and trust.
- Feedback and Adaptation: Encourage feedback from your students and be willing to adapt your teaching to better meet their needs.
- Consistency and Patience: Be consistent in your teaching and patient with your students. Restorative yoga is a slow practice, and progress may be subtle but profound.
Conclusion
Teaching restorative yoga is a rewarding journey that allows you to help others find peace, relaxation, and healing. By understanding the essence of restorative yoga, preparing effectively, creating a supportive environment, and guiding students with care and mindfulness, you can create a transformative experience for your students. Remember, the heart of restorative yoga lies in the ability to let go and find stillness. As a teacher, your role is to facilitate this process with compassion and skill, empowering your students to embrace the profound benefits of restorative yoga.

