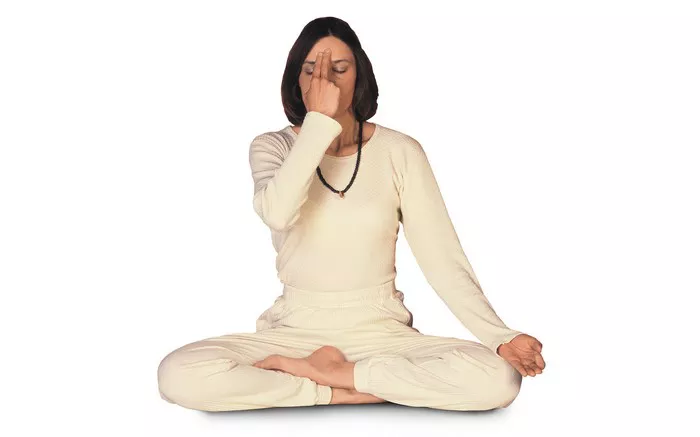
Lower back pain is a common ailment that affects a significant portion of the population. It can be caused by various factors such as poor posture, sedentary lifestyles, muscle imbalances, or even stress. While medical treatment and rest are often necessary, incorporating yoga into a pain management routine can be highly beneficial. Yoga poses can help strengthen the muscles that support the lower back, increase flexibility, and relieve tension. In this article, we will explore a range of yoga poses that are particularly effective for alleviating lower back pain.
Understanding the Causes of Lower Back Pain
Before delving into the specific yoga poses, it’s important to understand the potential causes of lower back pain. Prolonged sitting or standing in incorrect postures can strain the muscles and ligaments in the lower back. Weak abdominal and gluteal muscles can also contribute to an imbalance, putting extra stress on the lumbar spine. Additionally, emotional stress can cause the body to tense up, leading to pain in the lower back. By addressing these issues through yoga, we can work towards reducing and preventing lower back pain.
Benefits of Yoga for Lower Back Pain
Strengthening Muscles
Many yoga poses target the core muscles, including the abdominal and gluteal muscles. A strong core provides better support for the lower back, reducing the strain on the spine. Poses like Plank Pose (Phalakasana) and Boat Pose (Navasana) engage the abdominal muscles, while poses such as Bridge Pose (Setu Bandha Sarvangasana) and Warrior III (Virabhadrasana III) work on the glutes. Strengthening these muscles helps to maintain the natural curvature of the spine and improve overall spinal stability.
Increasing Flexibility
Tight muscles in the hips, hamstrings, and lower back itself can contribute to lower back pain. Yoga poses that focus on stretching these areas can help relieve tension and increase flexibility. Forward bends like Uttanasana (Standing Forward Bend) and Paschimottanasana (Seated Forward Bend) stretch the hamstrings and lower back. Hip-opening poses such as Baddha Konasana (Bound Angle Pose) and Pigeon Pose (Eka Pada Rajakapotasana) release tension in the hips, which can have a positive impact on the lower back.
Improving Posture
Poor posture is a major culprit in lower back pain. Yoga helps to correct postural imbalances by increasing body awareness and strengthening the muscles that support proper alignment. Standing poses like Tadasana (Mountain Pose) and Vrksasana (Tree Pose) teach the body to stand tall and distribute weight evenly, reducing the tendency to slouch and strain the lower back.
Relieving Stress
Stress can cause the muscles in the body to tighten, including those in the lower back. Yoga incorporates breathing techniques and relaxation poses that help to calm the nervous system and relieve stress. Poses such as Child’s Pose (Balasana) and Savasana (Corpse Pose) are excellent for promoting relaxation and reducing muscle tension.
Yoga Poses for Lower Back Pain
Tadasana (Mountain Pose)
How to do it: Stand with feet together, toes touching, and heels slightly apart. Distribute the weight evenly on both feet. Engage the quadriceps by lifting the kneecaps, and tighten the glutes. Roll the shoulders back and down, and lengthen the spine. Let the arms hang loosely by the sides. Breathe evenly and relax your face.
Benefits: This pose is the foundation for good posture. It helps to align the body and engage the core muscles, providing support for the lower back. By standing correctly, you can reduce the strain on the lumbar spine caused by slouching or improper weight distribution.
Modifications: If it’s difficult to stand with feet together, you can start with feet hip-width apart. You can also place a hand on a wall or chair for added support until you feel more stable.
Uttanasana (Standing Forward Bend)
How to do it: Stand in Tadasana. Inhale, and as you exhale, hinge forward from the hips, keeping the spine long. Reach for the floor or as far as you can comfortably. If possible, place the hands on the floor, or hold onto the shins or ankles. Let your head hang heavy and relax your neck.
Benefits: It stretches the hamstrings and lower back, relieving tension in these areas. The forward fold also helps to decompress the spine, allowing for more space between the vertebrae and reducing pressure on the discs.
Modifications: For those with tight hamstrings or back issues, seniors can use a yoga block or a chair. Place the block in front and rest the hands on it, or hold onto the back of the chair while bending forward. They can also bend the knees slightly to take some of the strain off the back.
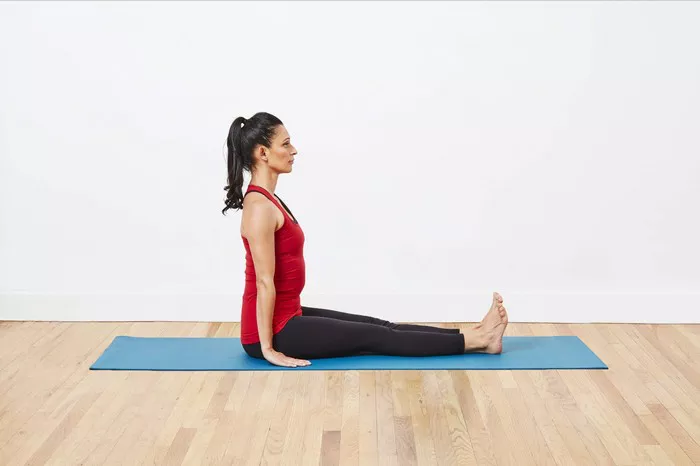
Paschimottanasana (Seated Forward Bend)
How to do it: Sit on the floor with legs extended in front. Inhale and then exhale as you hinge forward from the hips, reaching for the feet or as far as you can. Keep the spine long and engage the core. If you can’t reach the feet, use a strap to loop around them and pull gently.
Benefits: This pose deeply stretches the hamstrings and lower back, increasing flexibility and relieving pain. It also helps to calm the mind and reduce stress, which can be beneficial for those with lower back pain caused by tension.
Modifications: Use a bolster or a folded blanket under the hips to help with the forward fold. If you have difficulty sitting upright, you can sit against a wall for support.
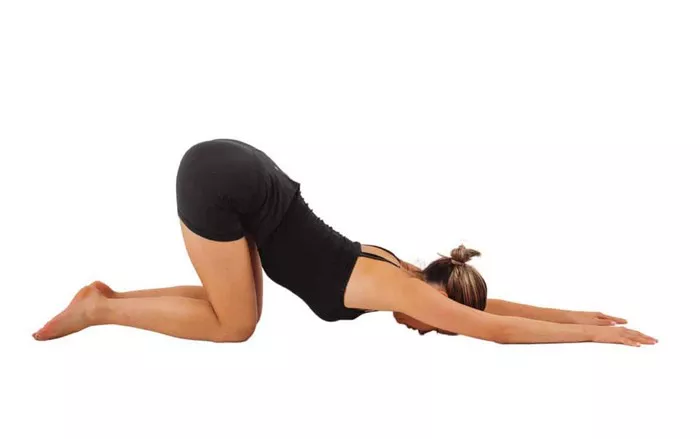
Balasana (Child’s Pose)
How to do it: Kneel on the floor with knees wide apart and toes touching. Sit back on your heels and fold forward, bringing your forehead to the floor. Extend your arms in front of you or rest them alongside your body.
Benefits: It is a restorative pose that stretches the lower back and hips. It also promotes relaxation and relieves stress, which can help to ease muscle tension in the lower back.
Modifications: If it’s uncomfortable to sit back on the heels, you can place a folded blanket or a bolster between the thighs and calves. You can also place a pillow under the forehead for added comfort.
Setu Bandha Sarvangasana (Bridge Pose)
How to do it: Lie on your back with knees bent and feet flat on the floor, hip-width apart. Press into the feet and lift the hips up, keeping the thighs parallel. Interlace the fingers under the back and lift the chest.
Benefits: This pose strengthens the glutes, hamstrings, and lower back. It helps to improve spinal flexibility and can relieve pain by taking pressure off the lower back.
Modifications: If it’s too difficult to interlace the fingers, keep the hands on the floor beside the body. You can also place a block under the sacrum for added support.
Baddha Konasana (Bound Angle Pose)
How to do it: Sit on the floor and bring the soles of the feet together, allowing the knees to fall out to the sides. Hold the feet with your hands and sit up tall. You can also lean forward slightly if it feels comfortable.
Benefits: It opens the hips and stretches the inner thighs and groin. Tension in these areas can contribute to lower back pain, so by releasing it, you can relieve stress on the lower back.
Modifications: If it’s difficult to sit upright, you can sit against a wall or use a bolster under the hips. You can also place blocks under the knees to support them if they don’t reach the floor.
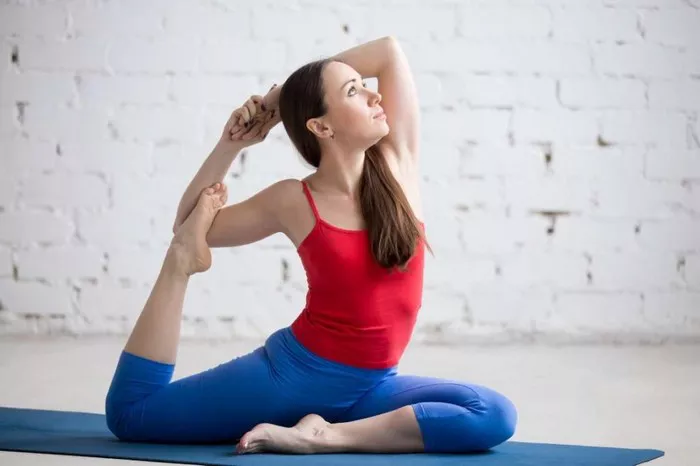
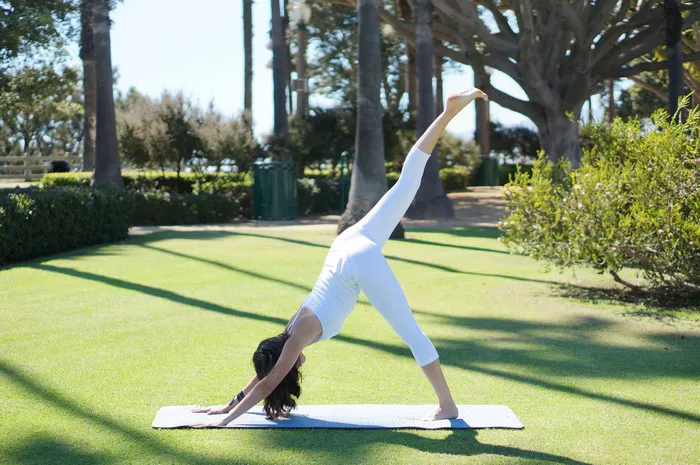
Eka Pada Rajakapotasana (Pigeon Pose)
How to do it: Start in a Downward Facing Dog. Bring the right knee forward and place it behind the right wrist, and the right foot in front of the left hip. Slide the left leg back and straighten it. Lower the torso and rest the forehead on the floor or on a block.
Benefits: This pose deeply stretches the hip flexors and outer hips. Tight hip flexors can pull on the lower back, so by opening the hips, you can reduce lower back pain.
Modifications: If you can’t lower the torso all the way, you can use a block under the forehead or the hip. You can also keep the back leg bent slightly if it’s too challenging to straighten it.
Phalakasana (Plank Pose)
How to do it: Start in a push-up position with hands directly under shoulders and feet hip-width apart. Keep the body in a straight line from head to toe, engaging the core and legs.
Benefits: It strengthens the abdominal muscles, which support the lower back. By maintaining proper alignment in this pose, you can improve overall spinal stability and reduce the risk of lower back pain.
Modifications: If it’s too difficult to hold the full plank, you can drop to your knees and perform a modified plank. You can also place your hands on a raised surface like a bench or a step for an easier variation.
Navasana (Boat Pose)
How to do it: Sit on the floor with legs extended. Lean back slightly and lift the feet off the floor, bending the knees. Then, straighten the legs and raise the arms parallel to the floor. Keep the back straight and engage the core.
Benefits: This pose targets the abdominal muscles, strengthening them and providing better support for the lower back. It also improves balance and concentration.
Modifications: If it’s too hard to straighten the legs, you can keep them bent. You can also hold onto the back of the thighs or use a strap around the feet for added support.
Savasana (Corpse Pose)
How to do it: Lie flat on your back with arms by your sides and palms facing up. Close your eyes and relax the whole body, focusing on your breath.
Benefits: It is a relaxation pose that allows the body and mind to fully unwind. By reducing stress and tension, it can have a positive impact on lower back pain. It also gives the body a chance to integrate the benefits of the other poses practiced.
Precautions and Considerations
Warm-up
Before starting any yoga practice, it’s essential to warm up the body. Gentle movements like walking in place, ankle rotations, and shoulder rolls can help increase blood flow to the muscles and joints, preparing them for the more strenuous yoga poses.
Listen to Your Body
Never force yourself into a pose. If a pose causes pain or discomfort, stop immediately or modify it. Everyone’s body is different, and you should respect your own limitations. If you have a pre-existing medical condition or severe lower back pain, it’s advisable to consult a healthcare professional before starting a yoga practice.
Breathing
Pay close attention to your breathing throughout each pose. Inhale and exhale slowly and deeply. Coordinated breathing helps to relax the muscles and makes the poses more effective.
Progression
Start with the basic modifications of the poses and gradually progress as your strength and flexibility improve. Don’t rush into advanced variations too quickly.
Consistency
Regular practice is key. Incorporate these yoga poses into your daily or weekly routine. Even short sessions of 10 – 15 minutes can make a difference over time.
Conclusion
Yoga offers a holistic approach to relieving lower back pain. By incorporating a variety of poses that target strength, flexibility, posture, and stress relief, you can take an active role in managing and preventing lower back pain. The poses mentioned above, when practiced with proper form and consistency, can help to ease pain, improve function, and enhance overall well-being. So, the answer to the question “Which Yoga Poses Can Ease Lower Back Pain?” is a combination of standing, seated, reclining, and core-strengthening poses that work together to address the multiple factors contributing to lower back discomfort. With patience and dedication, yoga can be a valuable tool in your journey towards a pain-free lower back.
Related topics


