Yoga is increasingly recognized as a beneficial practice for managing various health conditions, including herniated lumbar discs. When dealing with a herniated disc in the lower back, finding appropriate exercises that alleviate discomfort and promote healing is crucial. Yoga offers a gentle yet effective way to strengthen and stretch the muscles surrounding the affected area while improving flexibility and reducing inflammation. In this article, we will explore some of the best yoga poses specifically tailored to individuals with a herniated lumbar disc.
1. Child’s Pose (Balasana):
Child’s Pose is a relaxing yoga pose that gently stretches the lower back, hips, and thighs. To perform this pose:
- Start on your hands and knees with your toes touching and knees spread apart.
- Sit back onto your heels while extending your arms forward and lowering your chest towards the floor.
- Rest your forehead on the mat and breathe deeply, allowing your spine to lengthen.
2. Cat-Cow Stretch (Marjaryasana-Bitilasana):
The Cat-Cow stretch helps improve spinal flexibility and mobility, making it beneficial for individuals with a herniated lumbar disc. Here’s how to do it:
- Begin on your hands and knees in a tabletop position, with your wrists aligned under your shoulders and your knees under your hips.
- Inhale as you arch your back, dropping your belly towards the floor and lifting your head and tailbone upwards (Cow Pose).
- Exhale as you round your spine, tucking your chin towards your chest and drawing your navel towards your spine (Cat Pose).
- Continue flowing between Cat and Cow Pose, syncing your breath with the movements.
3. Downward-Facing Dog (Adho Mukha Svanasana):
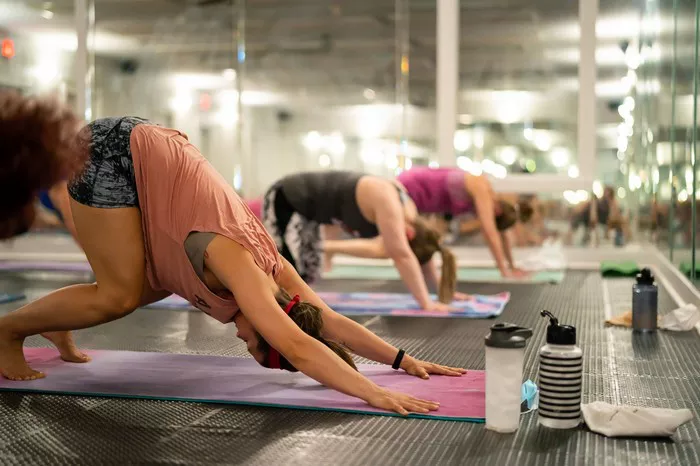
Downward-Facing Dog is a well-known yoga pose that stretches the entire body, including the hamstrings, calves, shoulders, and spine. To perform this pose:
- Start in a plank position with your hands shoulder-width apart and your feet hip-width apart.
- Press into your palms and lift your hips towards the ceiling, forming an inverted V shape with your body.
- Keep your knees slightly bent and your heels reaching towards the floor.
- Hold the pose for several breaths while focusing on lengthening your spine and releasing tension in your lower back.
4. Triangle Pose (Trikonasana):
Triangle Pose is an excellent yoga posture for strengthening the muscles along the spine and improving overall stability. Here’s how to do it:
- Begin standing with your feet about three to four feet apart, with your right foot turned outwards and your left foot turned slightly inwards.
- Extend your arms out to the sides at shoulder height.
- Shift your hips towards the left as you reach your right hand down towards your right shin or a block, while lifting your left arm towards the ceiling.
- Keep your chest open and gaze towards your left hand, maintaining a straight line from your tailbone to the crown of your head.
5. Pigeon Pose (Eka Pada Rajakapotasana):
Pigeon Pose is a deep hip opener that also helps stretch the muscles of the lower back and glutes. To practice this pose:
- Begin in a tabletop position with your hands and knees on the mat.
- Slide your right knee forward towards your right wrist, positioning your right ankle under your left hip.
- Extend your left leg behind you, keeping your hips square.
- Lower your hips towards the floor and fold forward over your front leg, resting your forearms or forehead on the mat.
- Hold the pose for several breaths before switching sides.
6. Supine Twist (Supta Matsyendrasana):
Supine Twist is a gentle yoga pose that helps release tension in the spine and improve spinal mobility. Here’s how to do it:
- Lie on your back with your knees bent and feet hip-width apart.
- Extend your arms out to the sides at shoulder height, palms facing down.
- Exhale as you gently lower both knees to the right side, keeping your shoulders grounded.
- Turn your head to the left and gaze towards your left hand.
- Hold the pose for several breaths before returning to the center and repeating on the opposite side.
7. Bridge Pose (Setu Bandhasana):
Bridge Pose strengthens the muscles of the back, buttocks, and thighs while also stretching the chest and shoulders. To practice this pose:
- Lie on your back with your knees bent and feet hip-width apart, heels close to your sitting bones.
- Press into your feet and lift your hips towards the ceiling, engaging your glutes and thighs.
- Interlace your fingers behind your back and roll your shoulders underneath you.
- Hold the pose for several breaths, focusing on lifting your chest towards your chin while keeping your neck long.
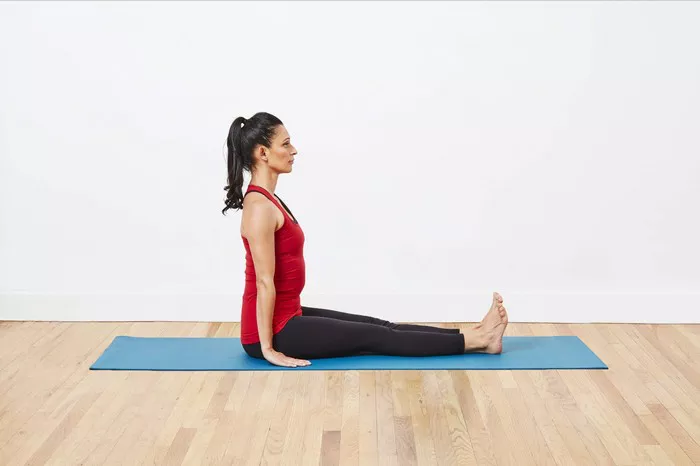
8. Seated Forward Bend (Paschimottanasana):
Seated Forward Bend is a calming yoga pose that stretches the entire back body, including the spine, hamstrings, and calves. Here’s how to do it:
- Sit on the floor with your legs extended in front of you and your feet flexed.
- Inhale as you lengthen your spine, then exhale as you hinge forward at the hips, reaching towards your feet.
- Hold onto your shins, ankles, or feet, depending on your flexibility.
- Keep your spine straight and avoid rounding your back excessively.
- Hold the pose for several breaths, allowing your muscles to release and relax.
Conclusion
Yoga offers a holistic approach to managing a herniated lumbar disc by combining gentle stretching, strengthening, and mindfulness practices. Incorporating these yoga poses into your daily routine can help alleviate pain, improve flexibility, and promote healing in the affected area. However, it’s essential to listen to your body and consult with a healthcare professional before starting any new exercise regimen, especially if you have a pre-existing medical condition. With regular practice and proper guidance, yoga can be a valuable tool in your journey towards a healthier back and overall well-being.


